Showing posts with label rudder. Show all posts

Saturday, October 18, 2014

Rudder complete!

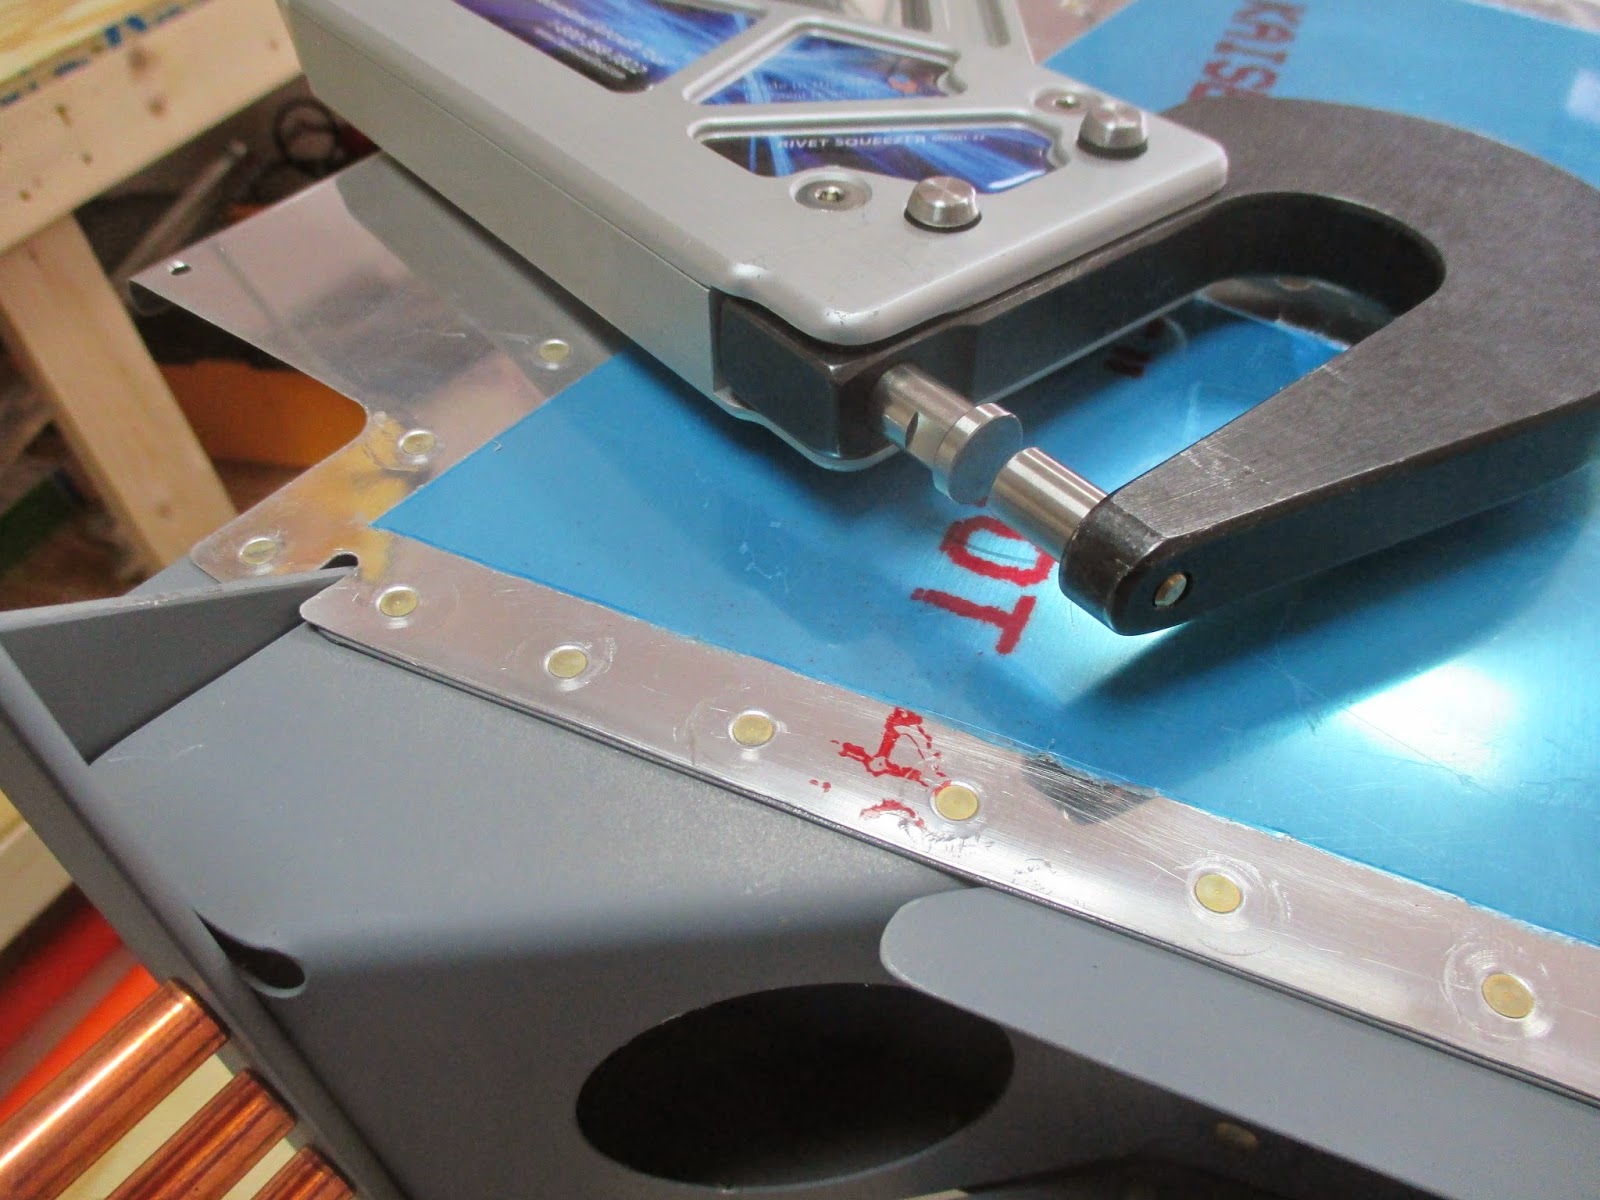
I put off back-riveting the trailing edge as long as I could, and finally ran out of excuses. I decided to follow several other builders' paths and alternate shop head/manufactured head to try to limit any distortion (Van's limits deviation from a line stretched from top to bottom of the rudder along the trailing edge to 0.10").
 First I taped in half of the rivets, then followed Van's instructions, partially setting every 10th rivet, then every 6th.
 The 3x rivet gun with a back-rivet set at about 40 PSI made this easy, and I was glad to have practiced this in the EAA Sportair Workshop.
 The rivet set starts vertical relative to the rivet, and after a few taps swings perpendicular to the surface of the skin.
 After partially setting all rivets on one side, I flipped the rudder over, finish-set the rivets with the mushroom head rivet set on a swivel at 50 PSI. Once this was done, I repeated the above steps on the opposite side.
I did manage to slightly mar the skin in 2 spots, but all rivets were set clean with good shop heads, and our deviation measured at 0.0470", so we're within tolerance. Whew!
 The last step (for forming metal, anyway) involves rolling the leading edge. Some people buy new dowels for this...
 It took some finesse & re-rolling, but all 3 sections came together.
 I squeezed some pop rivets, and voila - another finished part!!
I still need to install rod-end bearings (which allow the rudder to connect to the vertical stabilizer), and install the fiberglass top and bottom, but I'm calling this one complete.
 
 
Empennage: 2 hrs

Saturday, September 27, 2014

New right elevator skin prep, rudder trailing edge cleaning

The replacement skin & stiffeners for the right elevator arrived this week so we started prepping them all over (match drill, mark/cut stiffeners, deburr).

 Meanwhile the proseal had cured for a week so it was time to remove the aluminum angle. It was a bit nerve-wracking, especially when the first couple clecos were extremely hard to operate and the angle appeared to be glued to the skins...for a brief moment I was afraid we had just trashed the rudder.
 But not to worry! With some gentle encouragement all clecos came out and the aluminum angle peeled off. It was only stuck where the proseal had oozed up out of the dimples. Thankfully I had a couple willing helpers to clean those while I worked on the elevator stiffeners.

 The right elevator bottom stiffeners were match drilled in place and removed.
 I had 1 complete set of stiffeners from our earlier aborted attempt at assembling the right elevator - after drilling out rivets in 720-G; deburring and dimpling the other set went quickly.
Next: hopefully back-riveting the rudder and right elevator skin!!
 
Empennage: 3 hrs

Sunday, September 21, 2014

Left elevator skin bent, Wing stand framed

We worked on a few different things today, finishing the 4 rivets in the rudder horn brace since my new longeron flange yoke came in the mail. Worked great!
Brian & I built the bending brake per the plans with a 2"x8" board & hinges for the elevator skins and bent the trailing edge of the left elevator after practicing on the scrap right skin.
Then for variety (and while I had a second set of hands) we switched to wood construction to build the wing stands. We looked at a variety of options, and wound up following this builder's plans for the most part.
 
The stand allows for at least 32" between the wings so both can be built simultaneously. I didn't build it on wheels because...well...I forgot to account for it when measuring height. They can be added later if necessary, right?
Special thanks to Steve Taylor for providing the lumber for the stand, and helping us start the wings!!
 
 
Empennage: 3 hrs

Saturday, September 20, 2014

Elevator counterweights drilled, Rudder trailing edge prosealed


So today I tackled two different tasks I've been avoiding. First up: prosealing the trailing edge of the rudder to prep it for back-riveting. I touched up a few countersunk holes on the AEX wedge to help the dimpled skins better seat in them, and then re-verified the alignment of the trailing edge to within 0.10" - it was. With help I re-scuffed the trailing edge parts with Scotchbrite & cleaned them thoroughly with naptha.
 Proseal is a watertight elastic sealer that is primarily used for sealing the fuel tanks. It's working consistency is somewhere between tar, old bubblegum stuck to your shoe, and chocolate pudding.
In this case, because it's very sticky, we're using it to bond the trailing edges of the rudder skins to the slim aluminum AEX wedge that allows for a very narrow and yet sturdy trailing edge.
 I mixed up a small batch and spread a thin layer first on the right (down) side of the wedge with a popsicle stick. I then flipped the wedge over and slid it into place, secured one end with a cleco to prevent slippage, and grabbed an unsuspecting assistant to hold the left (top) trailing edge open while I buttered the top of the wedge.
 We clecoed on the aluminum angle that I had previously match-drilled and wiped off some of the proseal that squeezed out with naptha and it came right off. The proseal needs to cure for a couple days, at which point we'll remove the clecos and angle & backrivet the trailing edge.
 Next challenge: match drill the elevator counterbalance weights. Which are lead.
I started by filing the surface down to fit the weight to the end rib assembly. Once I had good fit, I pilot drilled the holes #40 about 1/8" deep and removed the weight to drill through on the drill press.
The drill press kept trying to kick to the side, so I stopped - I'll need to figure out a way to take the lateral slop out of the press a different day. Today, it meant I was drilling manually.
I reassembled the right counterweight with the counterbalance skin & ribs and proceeded to break off 2 #40 drill bits. $&^%!
After taking a break to clear my head, I came back & was able to get both counterweights match-drilled to #12 by drilling only 1/8" at a time, removing chips & allowing the bit to cool completely, and using lots of lubricant on each of the bits (#40-#30-#21-#12).
After those two projects, it was a relief to get back to simple rib-spar match drilling, attaching the root ribs, & both elevator counterbalance assemblies.
 
Elevators: 5 hrs

Saturday, September 6, 2014

Rudder skins riveted, elevator skins dimpled, elevator skeletons match-drilled

 We got a lot done in a marathon session in the airplane factory today! First one of my beautiful assistants joined me for placing and squeezing rivets on the rudder.
Nat also removed some clecos by herself; I was proud of her ability to squeeze the pliers, and then carefully lift the clecos straight up so as not to damage the skins.
Squeeze!
The squeezer with the 3" yoke was fine for setting most of the tip rib rivets.
For the rivets near the narrow trailing edge (seen clecoed/empty above), we used the no-hole thin-nosed yoke that we purchased for exactly this purpose.
The yoke was fantastic, reaching every one on the tip rib on both sides.
My assistant was back, placing more rivets along the rudder spar.
Rudder skins fully riveted!!
Except for the trailing edge, of course.
The 1/2" flat rivet set allowed me to set the flush rivets at the skin/rudder horn brace. As you can see from the copper clecos, I still need to set the rudder horn-rudder horn brace rivets and would prefer to set solid rivets here rather than pop rivets; this shouldn't slow down other progress on the rudder, and I have a flange yoke (longeron yoke) on backorder from Aircraft Spruce to reach.
I clecoed and marked the trailing edge including the AEX wedge where there was a gap between the skin and the wedge; I suspect I didn't countersink deep enough in these locations or that something is preventing the dimpled skin from sitting properly.
 
I want the straightest line possible, so I'm going to address that before cleaning, prosealing and riveting the trailing edge.
However, in the meantime I had extra help in the shop including my friend Brian and my lovely wife so we set the rudder aside and proceeded with deburring, dimpling and surface prep on the elevator skins and stiffeners.

Brian was coming to realize that staring at the blueprints accounts for a significant amount of build time; he started clecloing and match-drilling the counterbalance and tip ribs for the elevator substructures.
Erin got to swing her deburring tool.
We got the ribs assembled, match-drilled, and disassembled for deburring.
Finally, the elevator skin stiffeners were scuffed, cleaned and ready for priming along with E-615.
Primed!


And some video of our marathon session: 
It's amazing what can be accomplished with a full day at home & willing helpers! We made significant progress today; it always feels good to set the rivets and know that those pieces never have to come apart again.

Empennage: 7.5 hrs

Monday, September 1, 2014

Rudder counterweight installed, elevator stiffeners dimpled, skins prepped

We got a few hours in the shop over Labor Day, where Erin found a few new favorite tasks.
 
First up: dimpling! She dimpled all of the elevator skin stiffeners and E-615 plate.
Meanwhile I continued edge finishing the stiffeners with files, scotchbrite pads & the scotchbright wheel on the grinder.
 
I took a break to re-dimple the rudder counterbalance rib to #10 with the new dies. I found the rivet gun attachment plus a simple block drilled to hold the female die worked very well.

With the holes dimpled properly, the counterweight fit nicely.
 And the underside:
 Erin was a machine - and had a few sore muscles for her efforts. But at least all the stiffeners were ready for priming!
Her next new skill was marking the rivet lines in the blue vinyl with the wood burning tool so we could remove the strips and deburr holes while protecting most of the surface.
 2 skins ready for deburring!
I began assembly of the elevator substructure, which stalled almost as soon as it started when I realized that the 2 nutplates for the pivot bearings I "borrowed" when building the rudder weren't availalble for me to steal from the wing kit... so I ordered a couple from Aircraft Spruce.
 
Despite what it looked like in the pictures, I was actually working too...I swear...
 Ok, and doing a lot of this:
 
Empennage: 4 hrs