Showing posts with label rivet. Show all posts

Sunday, May 31, 2015

Left wing main skeleton riveted together, match drilling right wing underway!

Lots of helpers this weekend; who says you can't look stylish while building an airplane?!
(After these 2 pics were taken we moved the right wing to the other side of the rack to allow the top skins to fit over the racks)
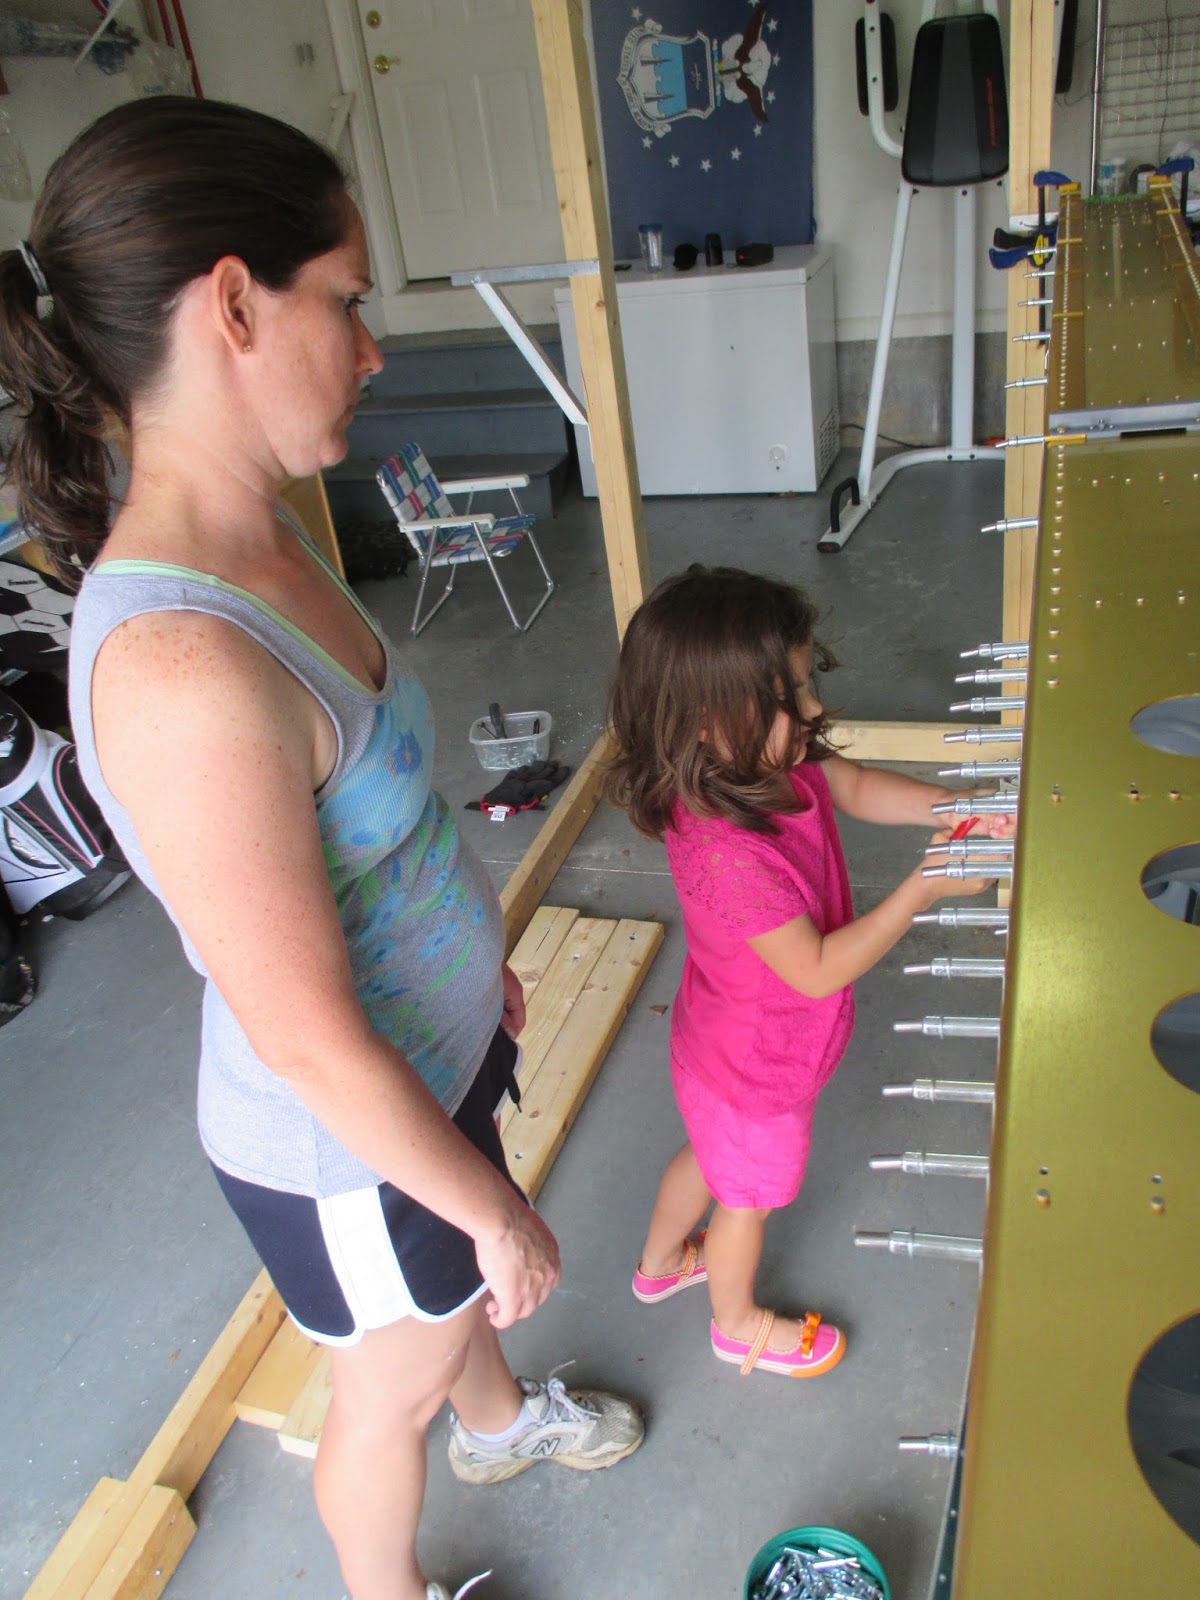
Our good friends the O'Connors came over for the day, and Chris & I got to work mashing rivets on the left wing skeleton.
I shot (3x gun 45 psi), he bucked
I can't believe we haven't had to drill out a rivet!
Main rib/main spar rivets complete! 
Or as Chris is clearly thinking, that's right ladies, we are that good.

Next we threw on the left rear spar and squeezed some rivets.
Complete!
Left wing skeleton, never to come apart again.
I started measuring & cutting the right wing walk doubler from the AS3-025 aluminum sheet provided by Vans. Simple straight aviation snips did the trick.
I then lined up the doubler per the manual & did the initial match drilling, clecoing it right to the workbench. This is a technique they taught at the EAA SportAir Workshop I went to; not sure if I would have thought to try it otherwise.
Chris was busy finishing the clecoing of the right top skins and starting match-drilling.
Right wing walk doubler complete!
Chris's son Naish needed some man time and joined us in the garage. Nothing like power tools to make a guy of any age smile.
Right wing 25% match-drilled!
Next up will be clecoing the rest of the skins on, finishing the match drilling, catching up the left wing, deburring, and then moving on to leading edge assemblies.
All of a sudden we have more finished parts! And better yet our friends will be back in 2 weeks. Life is good.
 
Wings: 6 hrs

Sunday, May 17, 2015

Right wing rear spar riveted on!

Short session but big progress yesterday - first we drove the last four rivets in the right wing main ribs and spar.
I didn't want to attempt drilling out the 2 ugly rivets from last session because I was pretty sure I would end up with a huge and misshapen hole.
 I called Van's this week just to be sure that adding 2 rivets at this location (2nd main rib from the outboard edge) wouldn't cause unforeseen problems.
They said I was probably ok just leaving the 2 smeared rivets since they likely had 90% design strength, but as long as I had adequate edge distance adding 2 rivets was fine.
 My father-in-law Don Holley helped me drive these after I drilled & deburred the holes.
Don & I designed and built an oak dining room table in his garage a couple years ago, so it was time to move the party to my garage.
 Next we clecoed on the right rear spar and started setting rivets. We could reach all of these with the squeezer which made the process smooth & fast.
 Don & I took turns placing rivets & squeezing - and making sure we were using the right rivets.
 Natalie had to get in on the action for a bit, too.
 Finished!
 It's great to see the biggest finished piece yet - now I need to find a place to put it to do it all over again on the other wing...

 I started attaching the support brackets to the wing stand; these things are going to need some filing to knock down the sharp corners, and I'm thinking about sticking some tennis balls on the end to protect passers-by.
It was a great afternoon in the shop! Fun to work with Don again, and I'm looking forward to skinning these wings.
 
Wings: 2 hrs

Monday, May 4, 2015

Right wing main ribs riveted to main spar

Finally time to make some finished parts!
 
Right wing ribs clecoed on
 My buddy Brian stopped in to buck rivets - made the process much easier
 We started off slow, and managed to put some rather large smileys in two of the rivet heads. I'll drill these out, but the good news is the rest of the rivets went in without a hitch. 2 out of 63 ain't bad.
 Down the rabbit hole...
 Ribs permanently attached!
Attaching the rear spar will be a bit more interesting. We flexed the ribs out of the way quite a bit in order to shoot squarely, after I realized that I never ordered an offset rivet set. I'll be ordering one of those, and I suspect it will get a lot of use wrapping up the wings. It'll still be tight quarters, though.
 
Wings: 3 hrs


Saturday, April 4, 2015

Left wing tiedown installed, left wing skeleton assembled!

Last weekend I worked on the left tie-down bracket, having received the replacement bolts I ordered from Aircraft Spruce. Brian Judge also came over to help deburr some of the right wing main ribs. And then we got distracted fixing up Erin's car...
 
So we were back at it this weekend, got the left tie-down bracket bolted on!

 Then I worked on the replacement rear spar reinforcement plate, edge-deburring it last week, clamping it in place this week:
 Match-drilling:
 Countersunk, deburred, scuffed & cleaned, ready for primer:
 And then Sam came out to squash some rivets!
Since I had some extra hands and the weather was nice, we assembled the left wing skeleton:
 Like mother, like daughter:
Sister act...
 And don't worry Adam & Rochelle, your ribs are together (and right behind the gas tank - you're welcome, Adam!).
 Parting shot - look closely at the lightening holes...
We accomplished a lot today in pretty short order; of course, once these holes are match-drilled, we're back in the deburring doldrums. Ah well, we're not far from hanging these puppies on the wing stand - and time to skin 'em! Crazy.
 
Wings: 4 hrs

Monday, March 23, 2015

Right main spar deburred, right skeleton match-drilled

 I test-fit the tiedown brackets to make sure everything lined up.
This let me get to know my new torque wrench, although it started a bit rocky. The "click" was more subtle than on the wrench I had borrowed from a co-worker, resulting in me overtightening a couple of bolts and cross-threading one of the nutplates.
With no way to back out the bolt, I had to use a cutoff wheel in my Dremel to cut the bolt flush with the nutplate, and then cut the nutplate down as seen below.
Fortunately I didn't damage the spar or tiedown bracket, however I followed that masterpiece up by breaking two of my pin punches trying to remove the rivets. S$F!@#
I replaced the nutplates, came to terms with my wrench & got the right tideown bracket fully attached. Finally. The left is waiting on replacement bolts that I ordered, but is partially attached.
An a more upbeat note, I got all main & leading edge ribs match-drilled to both spars on the right wing!
 And the mandatory peekaboo shot...
Front
I got all the parts disassembled, the right main spar deburred, and the girls helped me remove the blue vinyl from the rear spar to ready it for deburring & priming.
Sometimes I feel like this blog is just a chronicle of my mistakes, but I have to admit it was satisfying to take the ribs off the spars for the last time.
 
Wings: 4.5 hrs