Showing posts with label proseal. Show all posts

Saturday, November 29, 2014

Left elevator riveting, trim tab bending, wing tank platenut assembly

While Dad & Ben started riveting the left elevator skeleton I finished the trim tab bends and clecoed on the rear trim tab spar.
These bends were a piece of cake compared to the tabs on the LE.
The guys did a great job riveting on the platenuts and reinforcement plates.
Likewise the counterbalance ribs were riveted together quickly.
I clecoed and clamped the trim cable attachment horns to the bottom of the trim tab and match drilled them to the skin.
I then removed the horns and marked them for cutting, and then set aside the trim tab to help with the left elevator assembly.
 
These flush head rivets seemed to go a bit easier than on the right elevator, but there still isn't much room to get normal (90 degrees) to the forward side of the spar. And bending the root rib isn't an option, since it just creates a gap that the rivet would fill.
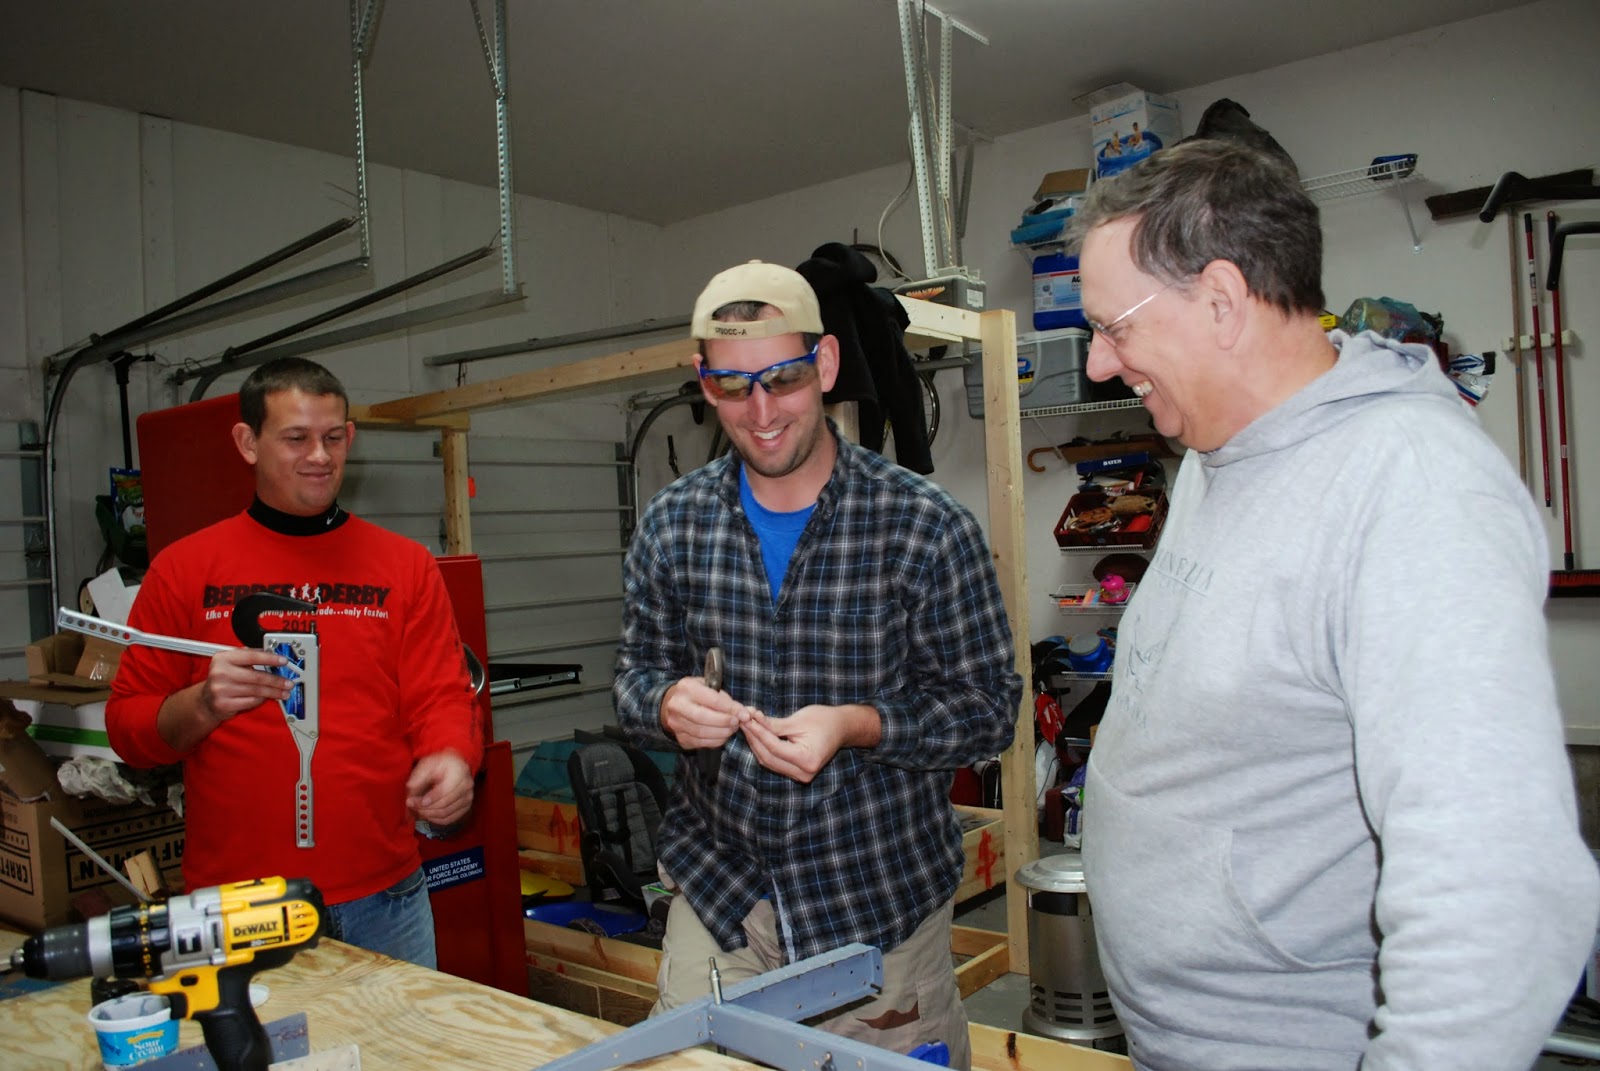
Next up: elevator control horn installation. Dad provided expert supervision.
Squeezing rivets - the method acting way:
We were prepared this time and dabbed the RTV on the stiffener ends BEFORE riveting the skin to the skeleton. Even low slearners can be taught...
 
When riveting the narrow end of the counterbalance rib on the right elevator we had an interference problem with even my no-hole squeezer yoke - on the top, of course - and had to use a combination of the rivet gun & mushroom set with a flat head screw driver and thin polished bar steel, finished off with a shot from the no-hole squeezer. It worked, but it wasn't easy or pretty.
We planned ahead on the left elevator, riveting the top first and changing the pattern, and were able to set all rivets with the no-hole yoke. MUCH easier!
We had a lot of help riveting the skin to the skeleton. Dad, Mom, Ben, Sam, Erin & I each got to squeeze a few rivets. It was great to see everyone excited to help!
 
 
And then everyone got to sign the finished part!
 
We closed up the bottom skin but left the top open near the trim tab (inboard) area to allow easy access when mounting the trim hardware.
Setting the elevator aside for me to finish the trim tab assembly later, we brought out the wing spars which I had countersunk for the platenuts, and primed the countersunk holes.
Next up we had a 3-man operation clecoing platenuts to the spars, riveting them on, and...I'm sure I was doing something important, too.
1/2 of a spar done!
I had to drill out about 8 rivets and am sadly getting pretty good at it...lots of practice I guess. I mangled a few nutplates in the process and will have to order more.
Mom proved that whacking my brothers & I with wooden spoons when we misbehaved was good training for squeezing clecos.
These were the best build sessions I've had so far, and are exactly why we started this project: spending time with people we care about, everyone pitching in & learning along the way.
 

Empennage: 5 hrs
 
Wings: 2 hrs

Thursday, November 27, 2014

Right elevator assembly, elevator trim tab progress

We flew in a bunch of help for the Thanksgiving weekend; first Natalie had to train the new recruits.
 After Uncle Benny passed her inspection (clecoing, drilling deburring, riveting on practice material), he set to work riveting the right elevator counterbalance skeleton together. He really leaned into it.
The flange-nosed yoke I bought was essential here, as I only had 1 flat die that was long enough.
 Next he & Dad riveted on the spar reinforcement plates and nutplates for the control bushings.
 With those on we installed the root rib with flush head rivets; these were a bit tricky to get to but all 4 rivets turned out pretty well.

Our lead helper came back to check on us & attach the right elevator horn.
Skeleton complete!
Per the suggestion of the Van's instructions we installed these two rivets to avoid having to install blind rivets later.
 That done, the skeleton slid in easily, the counterweight fit nicely and we proceeded to rivet the skin to the skeleton. 
 After finishing the bottom skin I remembered that we hadn't applied the black RTV at the intersection of the stiffeners inside the skin; access was tight, so we made a bit of a mess, but we got it in just the same.
 While the guys set some of the skin rivets and prepared to roll the leading edge I worked on bending the left elevator trim tab tabs.
 These were easier to bend than the tabs on the elevator itself, mostly because I used more double-sided tape and was able to clamp them more securely.
 We headed in to carve the turkey with a nearly complete elevator! We got the leading edge rolled, match-drilled and ready for deburring. Man, these things go together fast with lots of help.
 Dad picked up right where he'd left off after helping start the horizontal stabilizer last fall, and Ben picked it up quick. It's just a shame we're a thousand miles apart!
 
Empennage: 5 hrs

Saturday, September 27, 2014

New right elevator skin prep, rudder trailing edge cleaning

The replacement skin & stiffeners for the right elevator arrived this week so we started prepping them all over (match drill, mark/cut stiffeners, deburr).

 Meanwhile the proseal had cured for a week so it was time to remove the aluminum angle. It was a bit nerve-wracking, especially when the first couple clecos were extremely hard to operate and the angle appeared to be glued to the skins...for a brief moment I was afraid we had just trashed the rudder.
 But not to worry! With some gentle encouragement all clecos came out and the aluminum angle peeled off. It was only stuck where the proseal had oozed up out of the dimples. Thankfully I had a couple willing helpers to clean those while I worked on the elevator stiffeners.

 The right elevator bottom stiffeners were match drilled in place and removed.
 I had 1 complete set of stiffeners from our earlier aborted attempt at assembling the right elevator - after drilling out rivets in 720-G; deburring and dimpling the other set went quickly.
Next: hopefully back-riveting the rudder and right elevator skin!!
 
Empennage: 3 hrs

Saturday, September 20, 2014

Elevator counterweights drilled, Rudder trailing edge prosealed


So today I tackled two different tasks I've been avoiding. First up: prosealing the trailing edge of the rudder to prep it for back-riveting. I touched up a few countersunk holes on the AEX wedge to help the dimpled skins better seat in them, and then re-verified the alignment of the trailing edge to within 0.10" - it was. With help I re-scuffed the trailing edge parts with Scotchbrite & cleaned them thoroughly with naptha.
 Proseal is a watertight elastic sealer that is primarily used for sealing the fuel tanks. It's working consistency is somewhere between tar, old bubblegum stuck to your shoe, and chocolate pudding.
In this case, because it's very sticky, we're using it to bond the trailing edges of the rudder skins to the slim aluminum AEX wedge that allows for a very narrow and yet sturdy trailing edge.
 I mixed up a small batch and spread a thin layer first on the right (down) side of the wedge with a popsicle stick. I then flipped the wedge over and slid it into place, secured one end with a cleco to prevent slippage, and grabbed an unsuspecting assistant to hold the left (top) trailing edge open while I buttered the top of the wedge.
 We clecoed on the aluminum angle that I had previously match-drilled and wiped off some of the proseal that squeezed out with naptha and it came right off. The proseal needs to cure for a couple days, at which point we'll remove the clecos and angle & backrivet the trailing edge.
 Next challenge: match drill the elevator counterbalance weights. Which are lead.
I started by filing the surface down to fit the weight to the end rib assembly. Once I had good fit, I pilot drilled the holes #40 about 1/8" deep and removed the weight to drill through on the drill press.
The drill press kept trying to kick to the side, so I stopped - I'll need to figure out a way to take the lateral slop out of the press a different day. Today, it meant I was drilling manually.
I reassembled the right counterweight with the counterbalance skin & ribs and proceeded to break off 2 #40 drill bits. $&^%!
After taking a break to clear my head, I came back & was able to get both counterweights match-drilled to #12 by drilling only 1/8" at a time, removing chips & allowing the bit to cool completely, and using lots of lubricant on each of the bits (#40-#30-#21-#12).
After those two projects, it was a relief to get back to simple rib-spar match drilling, attaching the root ribs, & both elevator counterbalance assemblies.
 
Elevators: 5 hrs