Showing posts with label friends. Show all posts

Saturday, June 6, 2015

Right wing main skins match drilled, left wing on the rack

We started the weekend with some motivation - pancakes! We drove to Frederick, MD to the AOPA fly-in for pancakes provided by the local EAA chapter, and some gawking.
The girls got to hop in several of the planes, including EAA's One Week Wonder. 
Later in the day, one of our neighbors, Joe, stopped by to help match-drill the right wing bottom skins.
 I completed the top skins also.
 While Joe was busy with the match-drilling, I fabricated the left wing-walk doubler and match drilled it to the inboard top skin.
 I also modified the wing stand slightly and Joe helped me hand the left wing skeleton so we could skin that wing as well.
Great to see both wings in the rack! Joe was a great help; it's been a lot of fun getting several different people involved with the build. I enjoy the solo work, but sharing it is just more fun.

Wings: 4 hrs

Sunday, May 31, 2015

Left wing main skeleton riveted together, match drilling right wing underway!

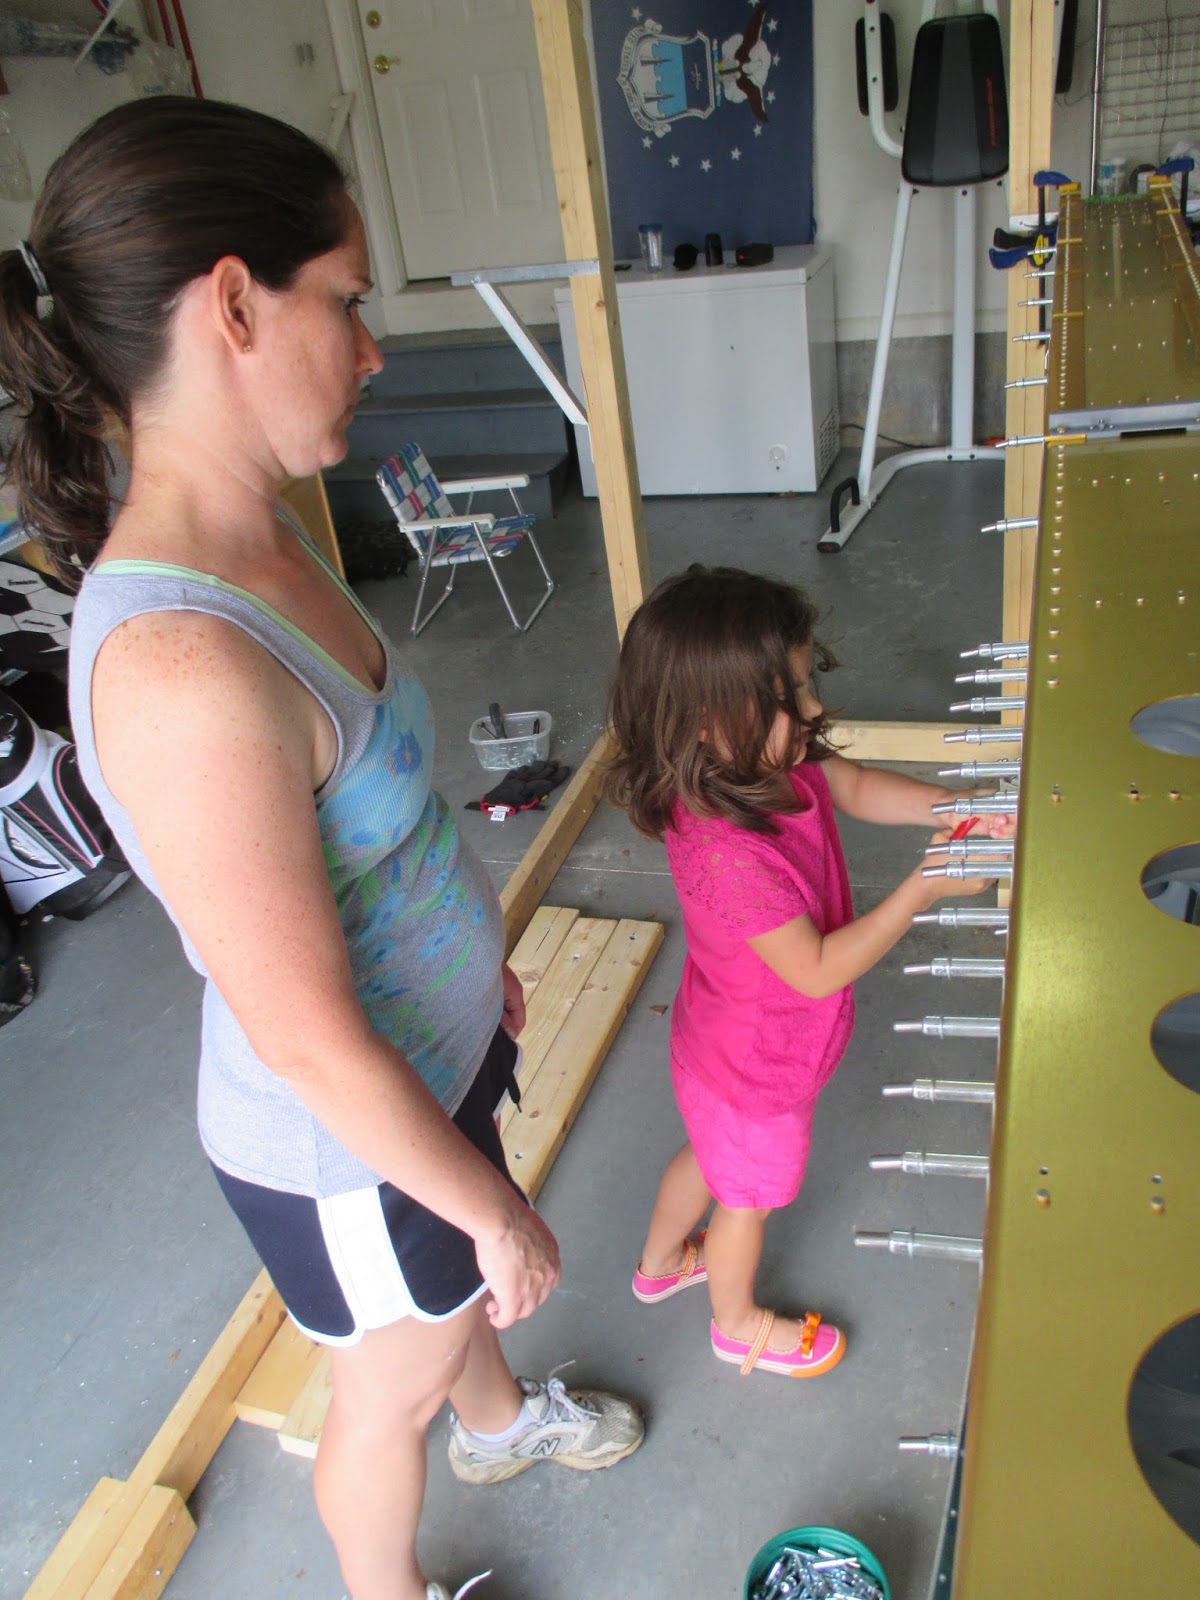
Lots of helpers this weekend; who says you can't look stylish while building an airplane?!
(After these 2 pics were taken we moved the right wing to the other side of the rack to allow the top skins to fit over the racks)
Our good friends the O'Connors came over for the day, and Chris & I got to work mashing rivets on the left wing skeleton.
I shot (3x gun 45 psi), he bucked
I can't believe we haven't had to drill out a rivet!
Main rib/main spar rivets complete! 
Or as Chris is clearly thinking, that's right ladies, we are that good.

Next we threw on the left rear spar and squeezed some rivets.
Complete!
Left wing skeleton, never to come apart again.
I started measuring & cutting the right wing walk doubler from the AS3-025 aluminum sheet provided by Vans. Simple straight aviation snips did the trick.
I then lined up the doubler per the manual & did the initial match drilling, clecoing it right to the workbench. This is a technique they taught at the EAA SportAir Workshop I went to; not sure if I would have thought to try it otherwise.
Chris was busy finishing the clecoing of the right top skins and starting match-drilling.
Right wing walk doubler complete!
Chris's son Naish needed some man time and joined us in the garage. Nothing like power tools to make a guy of any age smile.
Right wing 25% match-drilled!
Next up will be clecoing the rest of the skins on, finishing the match drilling, catching up the left wing, deburring, and then moving on to leading edge assemblies.
All of a sudden we have more finished parts! And better yet our friends will be back in 2 weeks. Life is good.
 
Wings: 6 hrs

Monday, May 4, 2015

Right wing main ribs riveted to main spar

Finally time to make some finished parts!
 
Right wing ribs clecoed on
 My buddy Brian stopped in to buck rivets - made the process much easier
 We started off slow, and managed to put some rather large smileys in two of the rivet heads. I'll drill these out, but the good news is the rest of the rivets went in without a hitch. 2 out of 63 ain't bad.
 Down the rabbit hole...
 Ribs permanently attached!
Attaching the rear spar will be a bit more interesting. We flexed the ribs out of the way quite a bit in order to shoot squarely, after I realized that I never ordered an offset rivet set. I'll be ordering one of those, and I suspect it will get a lot of use wrapping up the wings. It'll still be tight quarters, though.
 
Wings: 3 hrs


Saturday, April 25, 2015

Right wing ribs primed, Left wing match-drilled

It was great to be home for the first weekend in a while! I continued deburring wing ribs, and tackled drilling conduit & wire runs for the tips. First a sophisticated template to mark the drilling location with a spring-loaded punch,
 Then drill to #40
 Followed by #30 
 And then upsized with stepdrills
 To final dimension of 3/4" (below) and 5/8" for the tooling hole near the rib root.
 My buddy Chris came over and got all the glamorous work: washing, drying, & priming ribs.
 Ready to go!
 Not bad for a squiddie.
 While the primer dried we match-drilled the left wing main ribs.
 Rear spar first,

 Followed by the main spar.
 While that was happening I drilled the tooling hole in the main spar for the stall warning device up to 3/8".
 Deburred, bushing installed. Too easy.
 Prime(d) rib!
 Chris's boy Naish heard there were power tools and had to get in on the action.
 We also got the leading edge ribs match-drilled & deburred, the main spar hole deburred, and Chris knocked out all the hole deburring on the main ribs. This stuff goes much faster with help!
We had an awesome day, got a lot done, and are ready to rivet the skeleton of the wing. Almost time to skin that beast! Can't wait to have Chris & family over again to help.
 
Wings: 7 hrs

Sunday, December 14, 2014

Trim tab drilled, Tank skin nutplates riveted

We got a couple short sessions in the shop working on the trim tab prep & wing spar nutplate riveting.
Everyone who builds a plane should have someone with tiny fingers to place rivets!
Meanwhile I aligned the trim tab hinge per the specs and confirmed it by aligning the tab with the trim tab cutout in the left elevator.
Trim tab match-drilled! Ready for disassembly, deburring, etc.
We continued riveting the nutplates to the wing spars on Sunday with Brian Judge's help. I have a few to buck where we don't have clearance for the squeezer around the 3/16" wing spar rivets and will post pics then.
 
Funny side note: Christmas cookie baking was happening inside, and Nat was clearly impatient to get out to the garge - she didn't like that I was working out there without her. I hope we can keep up that enthusiasm with everyone for a long time!
 
Empennage: 1 hr
 
Wings: 2 hrs

Sunday, September 21, 2014

Left elevator skin bent, Wing stand framed

We worked on a few different things today, finishing the 4 rivets in the rudder horn brace since my new longeron flange yoke came in the mail. Worked great!
Brian & I built the bending brake per the plans with a 2"x8" board & hinges for the elevator skins and bent the trailing edge of the left elevator after practicing on the scrap right skin.
Then for variety (and while I had a second set of hands) we switched to wood construction to build the wing stands. We looked at a variety of options, and wound up following this builder's plans for the most part.
 
The stand allows for at least 32" between the wings so both can be built simultaneously. I didn't build it on wheels because...well...I forgot to account for it when measuring height. They can be added later if necessary, right?
Special thanks to Steve Taylor for providing the lumber for the stand, and helping us start the wings!!
 
 
Empennage: 3 hrs