Showing posts with label damage. Show all posts

Monday, March 23, 2015

Right main spar deburred, right skeleton match-drilled

 I test-fit the tiedown brackets to make sure everything lined up.
This let me get to know my new torque wrench, although it started a bit rocky. The "click" was more subtle than on the wrench I had borrowed from a co-worker, resulting in me overtightening a couple of bolts and cross-threading one of the nutplates.
With no way to back out the bolt, I had to use a cutoff wheel in my Dremel to cut the bolt flush with the nutplate, and then cut the nutplate down as seen below.
Fortunately I didn't damage the spar or tiedown bracket, however I followed that masterpiece up by breaking two of my pin punches trying to remove the rivets. S$F!@#
I replaced the nutplates, came to terms with my wrench & got the right tideown bracket fully attached. Finally. The left is waiting on replacement bolts that I ordered, but is partially attached.
An a more upbeat note, I got all main & leading edge ribs match-drilled to both spars on the right wing!
 And the mandatory peekaboo shot...
Front
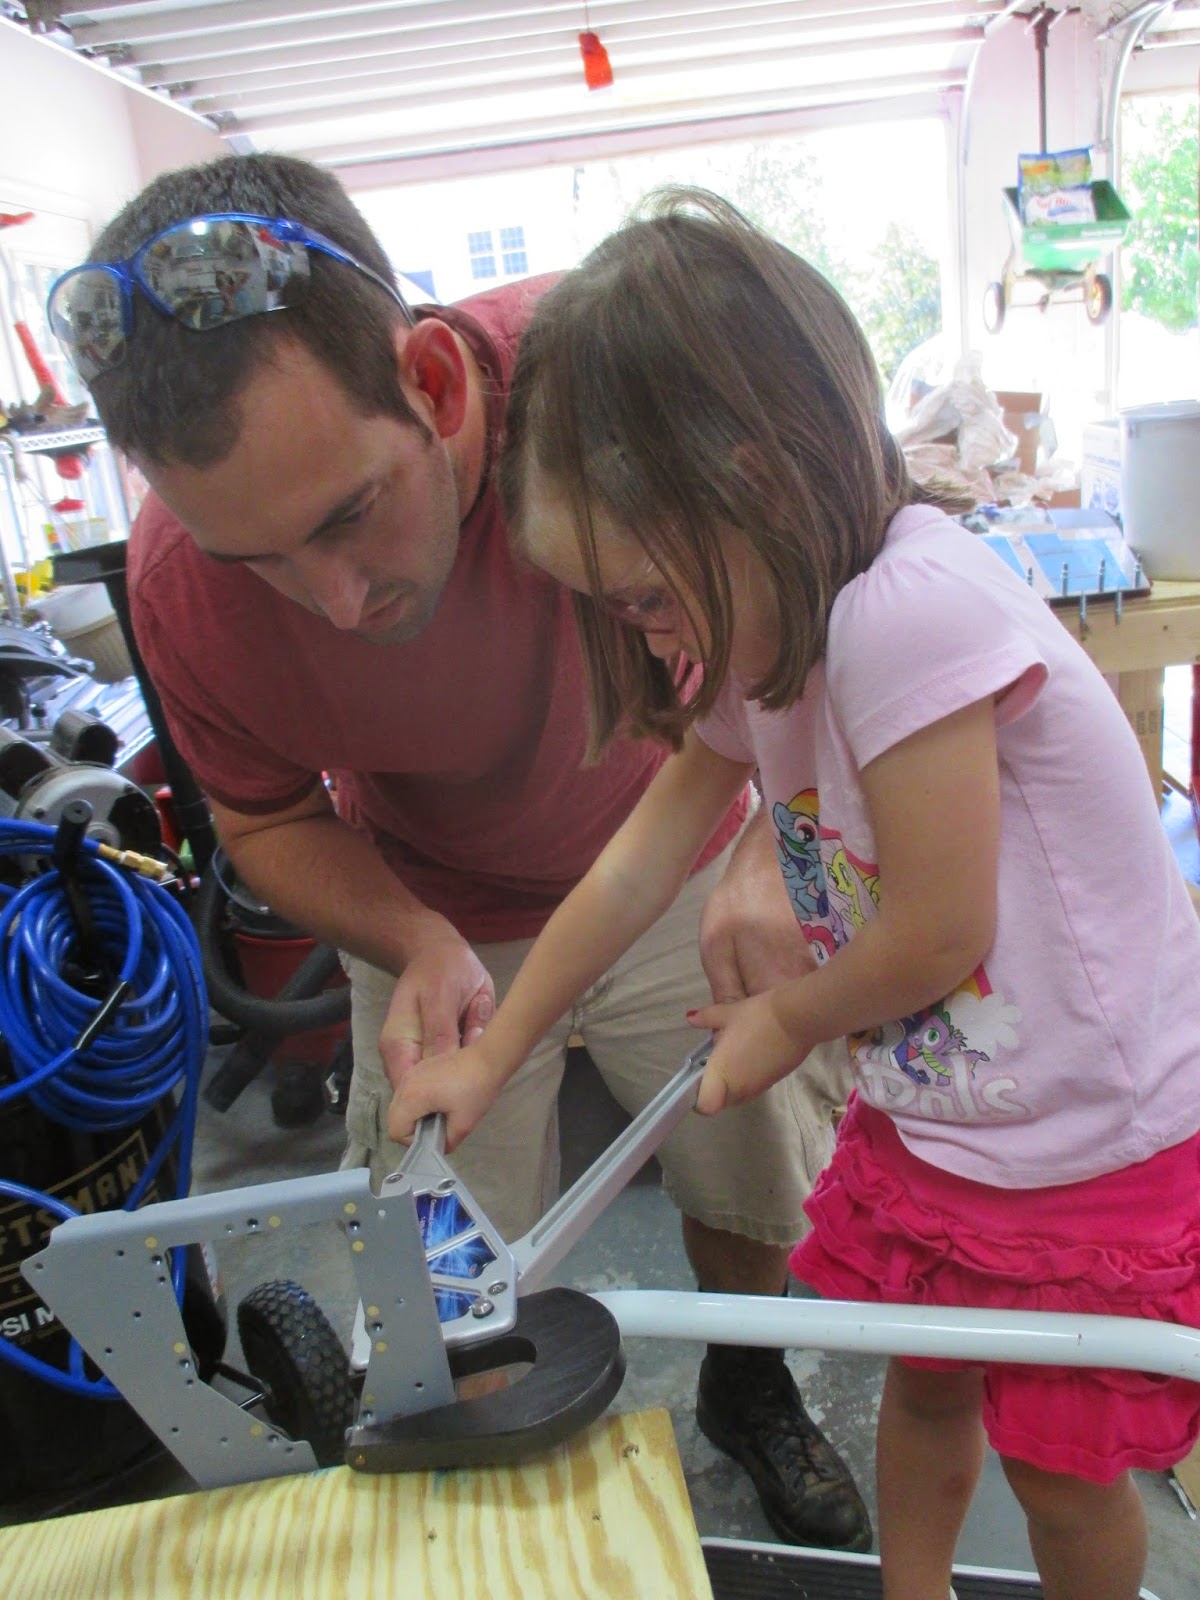
I got all the parts disassembled, the right main spar deburred, and the girls helped me remove the blue vinyl from the rear spar to ready it for deburring & priming.
Sometimes I feel like this blog is just a chronicle of my mistakes, but I have to admit it was satisfying to take the ribs off the spars for the last time.
 
Wings: 4.5 hrs


Sunday, September 7, 2014

Stupid strikes again

Today's session started off well; I clecoed the nutplates to E-615 in preparation for riveting.
 I had some help squeezing a couple of the rivets...
 And the finished product! I really enjoy using the rivet squeezer; it gives consistent, excellent quality results every time.
 As you see in the background of the above, Erin came out to help prep the elevator skins for backriveting. I jumped in and backriveted several lines, frustrated with my inability to get properly formed shop heads. I tried several different air pressures, different angles with the rivet gun, confirmed I was using the right length rivets, all with no improvement.
 And then it hit me: I had failed to put the stiffeners on and riveted the skin to...itself! $*!%&
 
I then made another mistake: proceeding with riveting on stiffeners, thinking I'd come back and drill out the stiffener-less rivets later.
Big mistake. I started carefully drilling out the malformed rivets, and somewhere around 1 in 3 or 1 in 4 were deforming the skin or damaging the dimple.
 
The first thing I did right was stop drilling, but now I'm stuck with the unpleasant alternatives of buying a new skin & stiffeners or attempting to drill out all the crap rivets and, with Van's concurrence, drilling the holes larger, deburring, dimpling, filling the enlarged holes with oversize rivets and adding additional rivets in-between for strength.
 
The latter solution appeals to the thrifty part of me, but drilling the holes larger will almost certainly result in edge-distance problems as at least 2 of the damaged holes thus far are larger than 1/8" rivets could fill. If the rivets aren't structural it may not matter and all of the damaged holes are on the bottom of the right elevator which means the error won't be visible. BUT - I'll know it's there.
 
I think I'm going to call Van's to consult their technicians tomorrow; however I think for $100, a little humble pie, and increased peace of mind the new skin is probably a small price to pay.
 
Lesson learned here is take it extra slow when I'm coaching other people, and talk through each step as I'm doing it.
 
Empennage: 2 hrs

Sunday, July 20, 2014

Horizontal stabilizer stored, Rudder counterbalance skin damaged


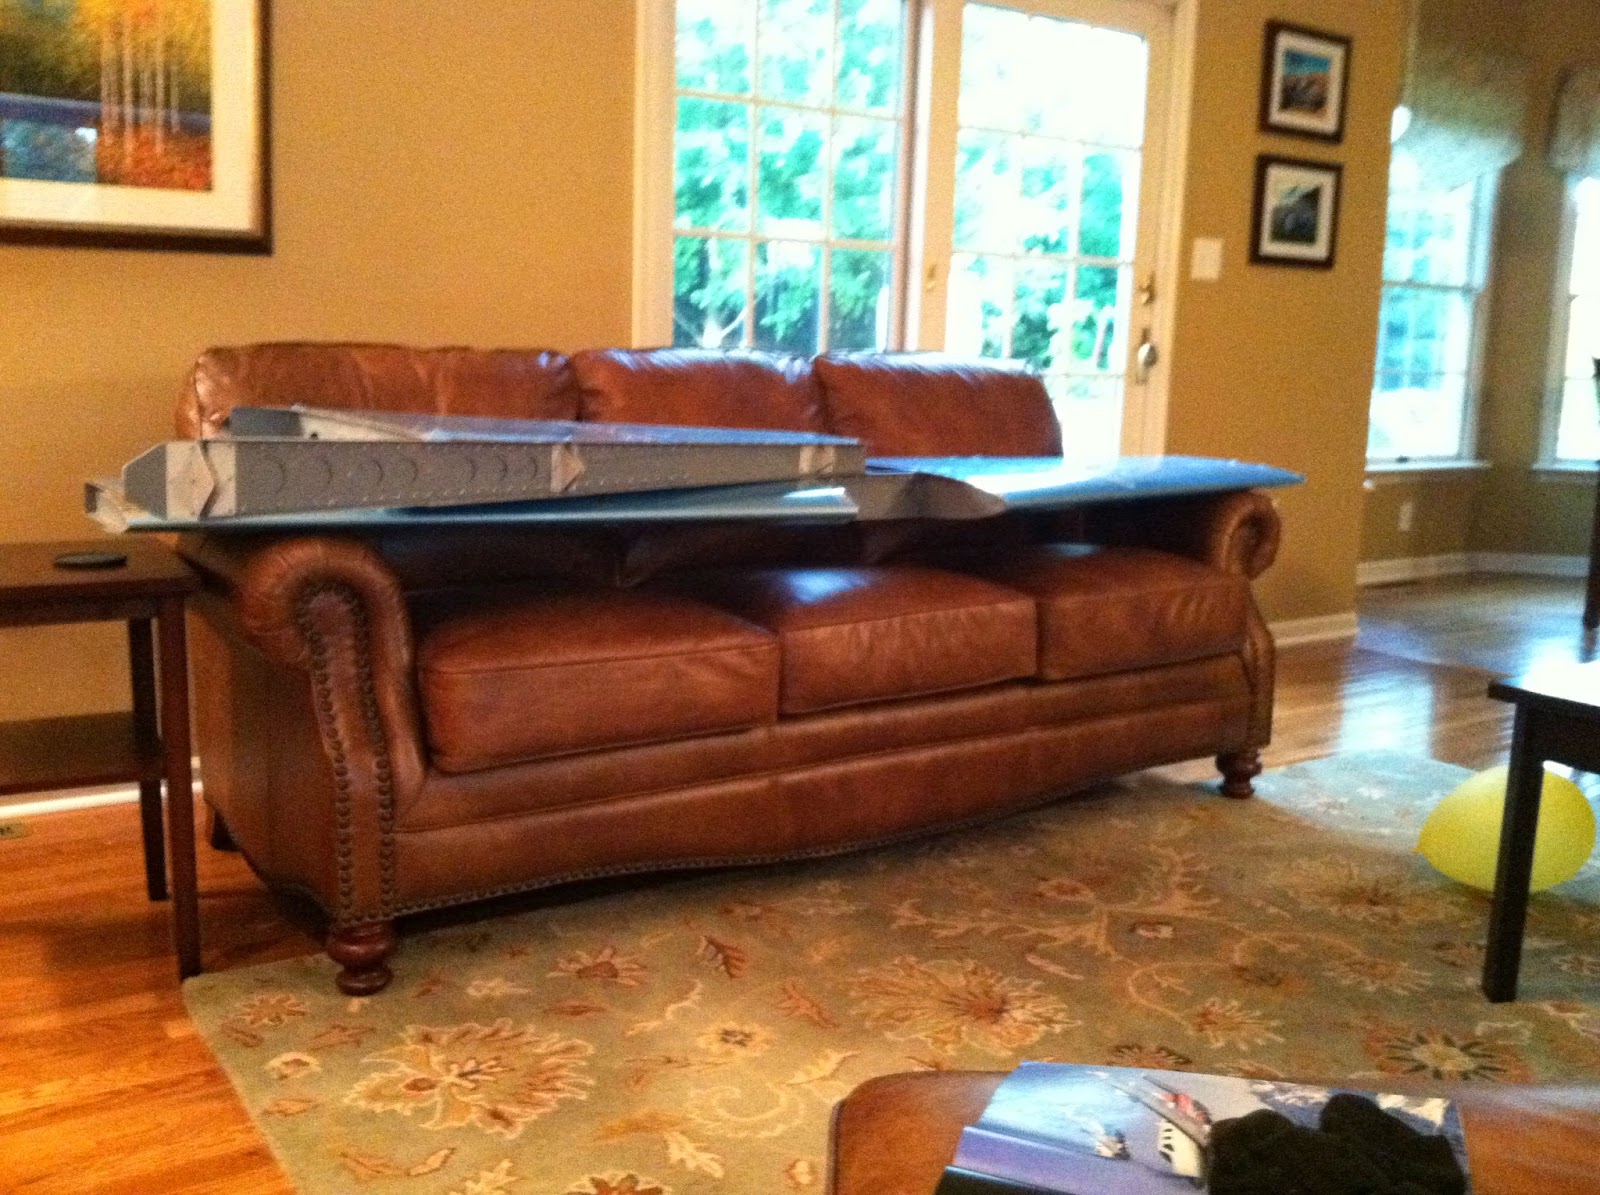
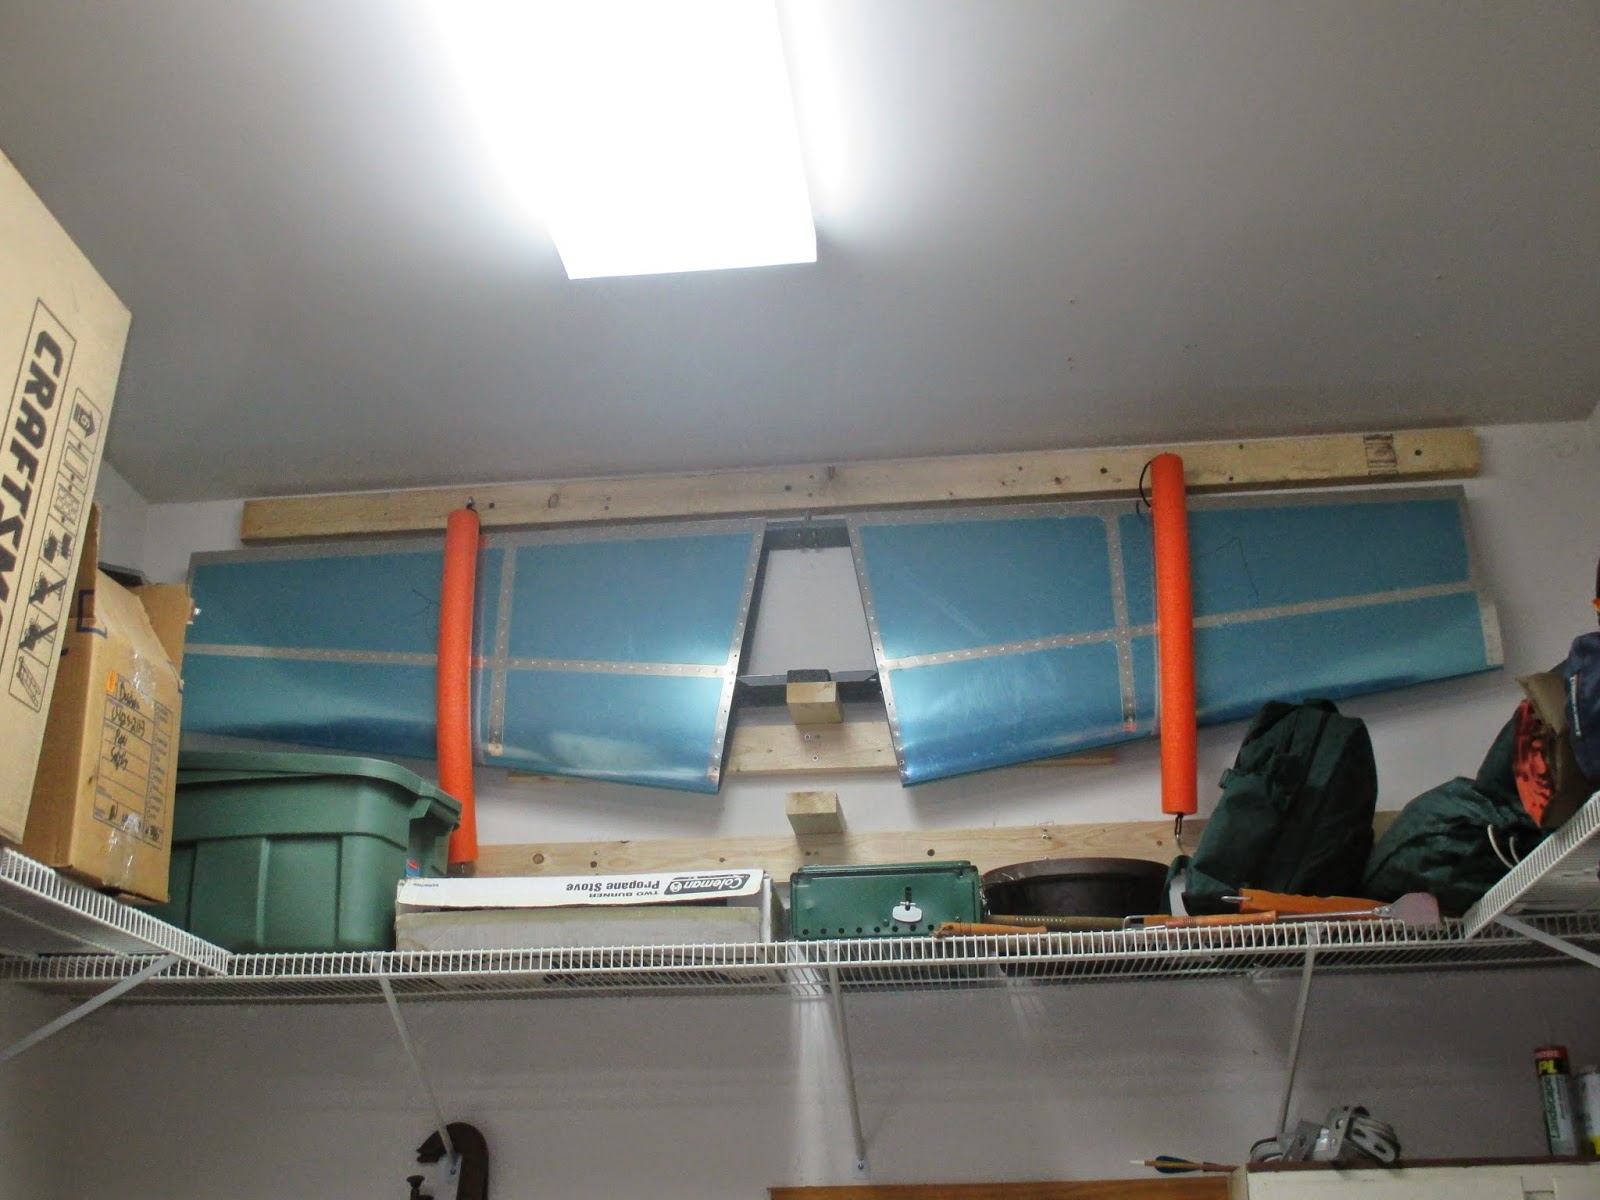
To my wife's relief I removed the HS from its place on our living room couch, took some time this weekend and hung it from the shop wall using 550 cord, eye bolts and swim noodles.


Once the empennage pieces are complete I'll remove the blue vinyl covering and wrap them all for long-term storage in bedsheets to keep out the bugs.

I also spent some time deburring rudder pieces, and found either a deep scratch or small crack in one corner of the R-913 rudder counterbalance skin; more scrap for the heap.

$11.50 for the new part and a cold beer solved that.

 
Empennage: 2 hrs

Thursday, May 22, 2014

Wing Inventory

After a few weeks on the road with work, it was a welcome surprise to have the wing crates arrive early.
Man, that spar box is LONG! (Found out it contains some fuselage pieces as well...no idea where I'm going to store that stuff for a couple years...)
 Unfortunately, the shipping company treated them like pinatas with the following results:


 The spar crate defintely got kicked around less, but it still had signs of damage.
Since the top of the crate had been knocked askew by the shipping company, the exposed staples dragged across the top of one of the right wing ribs.


 Other than the damaged rib, everything seemed to survive unscathed. I'll be contacting Vans & the shipper to try to get the rib replaced.

Couldn't have done it without my expert unpacking crew!
 The fiberglass tips really bring the size of the wings into perspective...makes the empennage pieces we've been building feel like toys!
Inventory took 3 weeks thanks to the recent nice weather - gotta clear the honey-do list first - but it's finally done! I'm short 5x AN509-8R8 flat head screws for attaching the fuel tank, and everything else is here. Not too shabby.
Did I mention there are a lot of rivets?

Wings: 2.5 hrs