We got a lot done in a marathon session in the airplane factory today! First one of my beautiful assistants joined me for placing and squeezing rivets on the rudder.
Nat also removed some clecos by herself; I was proud of her ability to squeeze the pliers, and then carefully lift the clecos straight up so as not to damage the skins.
Squeeze!
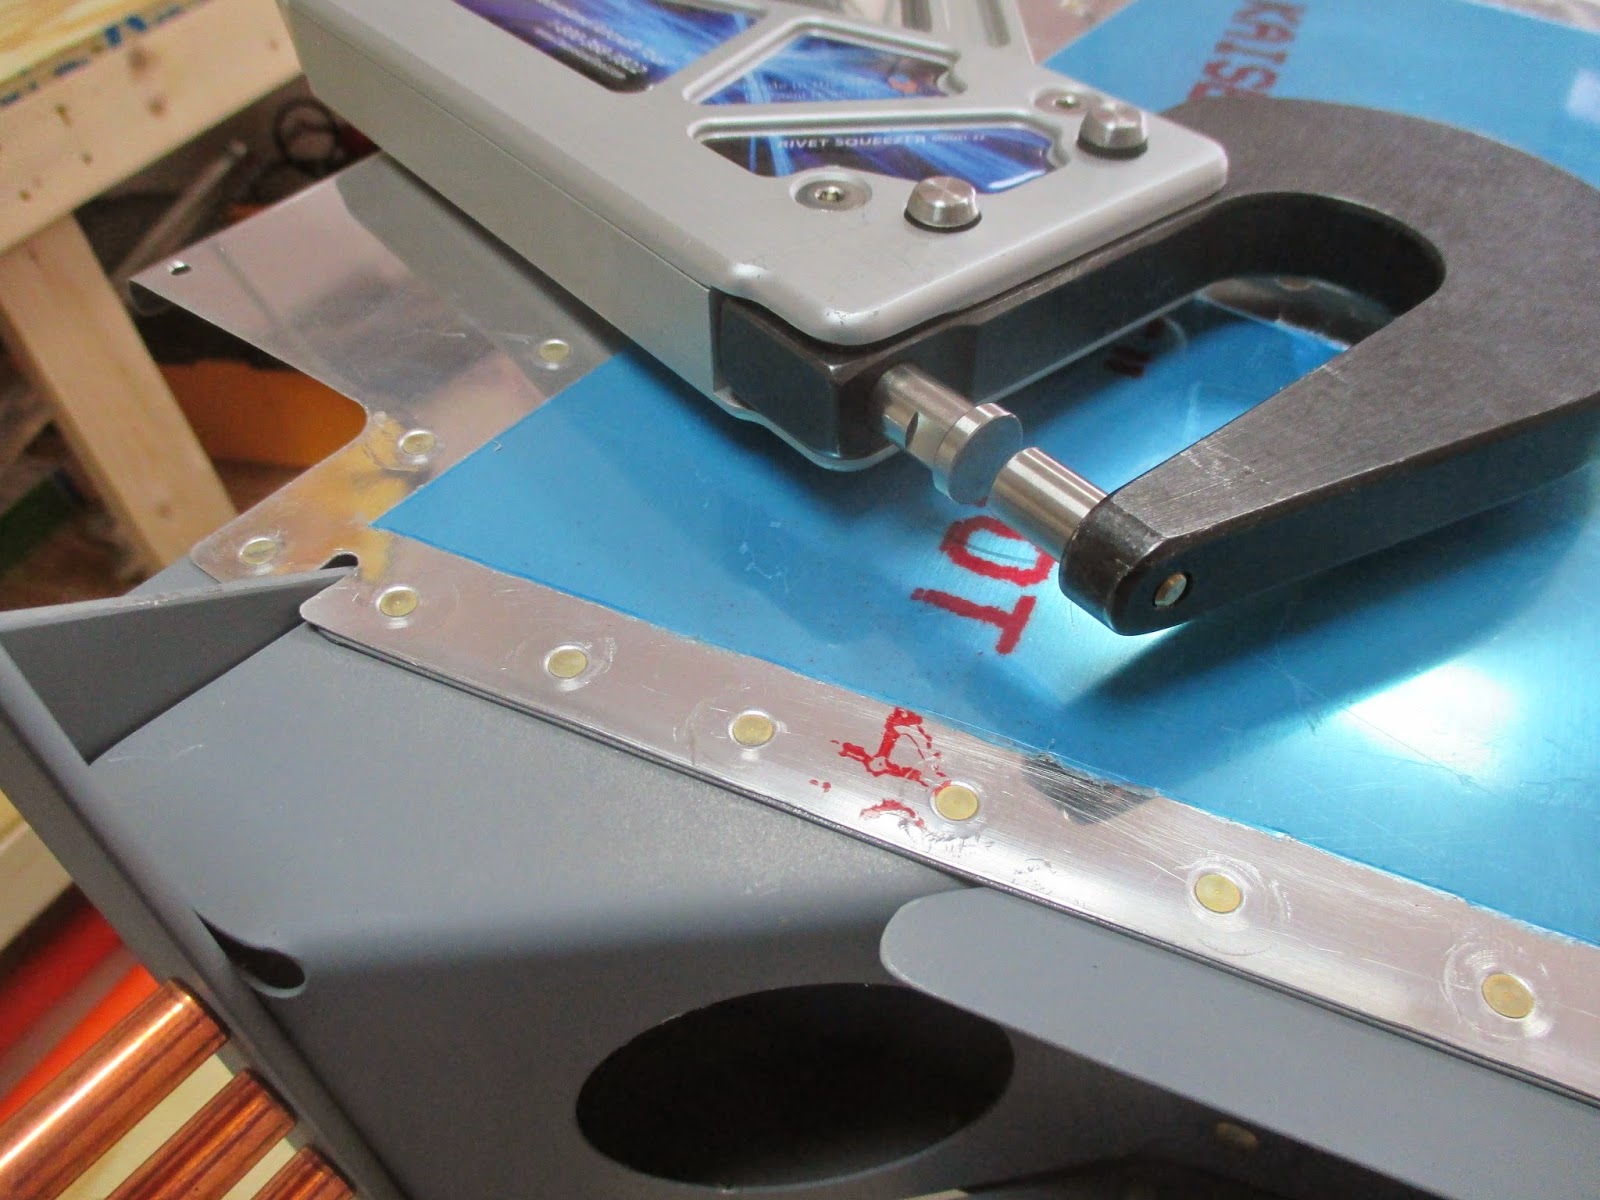
The squeezer with the 3" yoke was fine for setting most of the tip rib rivets.
For the rivets near the narrow trailing edge (seen clecoed/empty above), we used the no-hole thin-nosed yoke that we purchased for exactly this purpose.
The yoke was fantastic, reaching every one on the tip rib on both sides.
My assistant was back, placing more rivets along the rudder spar.
Rudder skins fully riveted!!
Except for the trailing edge, of course.
The 1/2" flat rivet set allowed me to set the flush rivets at the skin/rudder horn brace. As you can see from the copper clecos, I still need to set the rudder horn-rudder horn brace rivets and would prefer to set solid rivets here rather than pop rivets; this shouldn't slow down other progress on the rudder, and I have a flange yoke (longeron yoke) on backorder from Aircraft Spruce to reach.
I clecoed and marked the trailing edge including the AEX wedge where there was a gap between the skin and the wedge; I suspect I didn't countersink deep enough in these locations or that something is preventing the dimpled skin from sitting properly.
I want the straightest line possible, so I'm going to address that before cleaning, prosealing and riveting the trailing edge.
However, in the meantime I had extra help in the shop including my friend Brian and my lovely wife so we set the rudder aside and proceeded with deburring, dimpling and surface prep on the elevator skins and stiffeners.
Brian was coming to realize that staring at the blueprints accounts for a significant amount of build time; he started clecloing and match-drilling the counterbalance and tip ribs for the elevator substructures.
Erin got to swing her deburring tool.
We got the ribs assembled, match-drilled, and disassembled for deburring.
Finally, the elevator skin stiffeners were scuffed, cleaned and ready for priming along with E-615.
Primed!
And some video of our marathon session:
It's amazing what can be accomplished with a full day at home & willing helpers! We made significant progress today; it always feels good to set the rivets and know that those pieces never have to come apart again.
Empennage: 7.5 hrs


No comments:
Post a Comment