Sunday, March 30, 2014

Toy plane

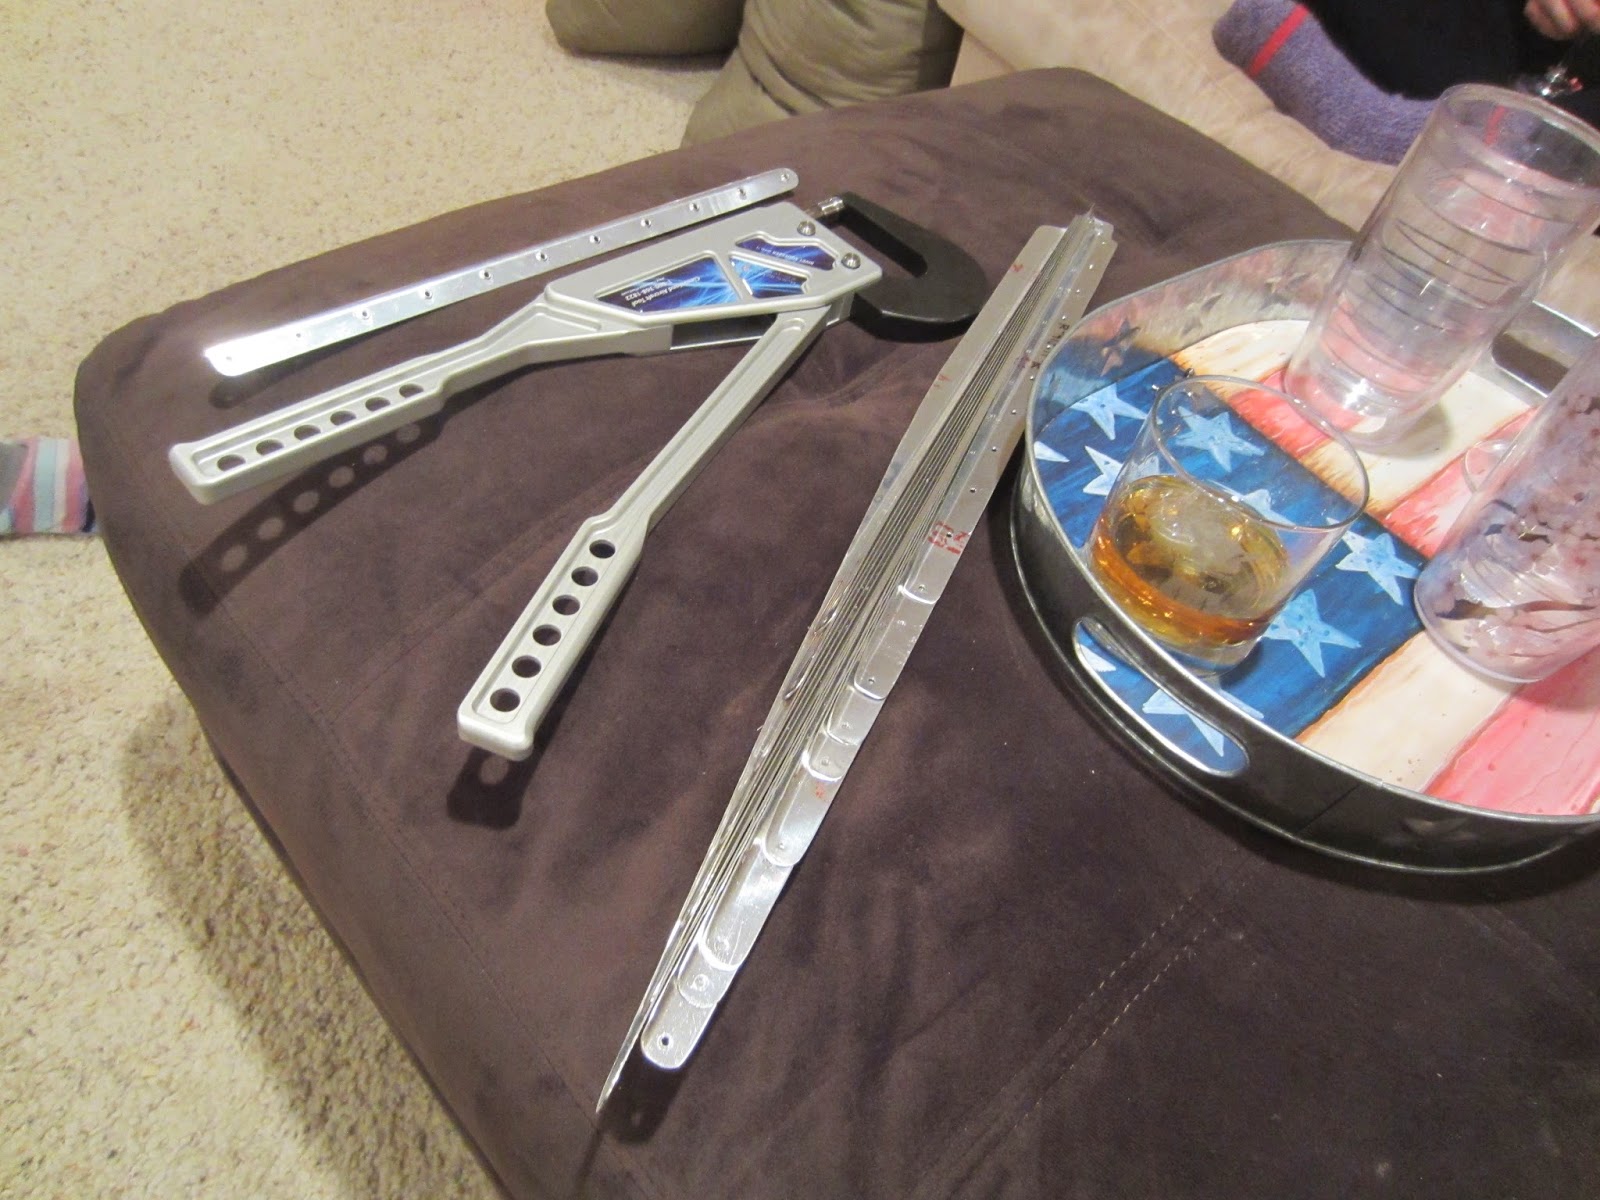
With travel coming up, I didn't want to start into a new part of the plane. Instead, the girls & I decided to make something out of the scrap spar I'd mangled. 

I wanted to try to make a toy with the girls' help that allowed them to do almost everything, each step of the way that mirrored the steps in actual plane construction. 
First we mocked up parts in cardboard, cutting them to the shape of the spar. 
Then we marked off cut/bend lines. Tape was a good stand-in for Clecos. 
We trimmed along the lines & bent the windscreen tabs inboard and down. 
Then we scored and bent the lower "cowling" tab up. 
A couple other pieces sketched, cut & secured, and we had our model!
Next up, I measured our reference points, and the girls connected the dots with a straight-edge and sharpie. 

Then both got a turn with aviation snips cutting on the lines. 
All our rough cut parts!
  I did all the deburring on the bench grinder to speed things up...kid attention spans are only so long. 
After making the initial bends for the fuselage, we Clecoed the assembly and marked the windscreen cut/bend lines. 
Being .032" aluminum, the bends were tough to get precise...thus our plane's "Elvis lip."
All parts ready for drilling!
Back in the garage we clamped the landing gear strut to the lower wing for match-drilling. 
Gear/LW Clecoed to the fuselage (seen near our unfinished rudder). 
Remember what I said about bending thicker aluminum? We ended up with less than ideal wing cant. Thankfully this is just a prototype. 
All pieces match-drilled and Clecoed!
We assembled the pieces one at a time using homeowner pop rivets (pulled rivets) that were very easy for the girls to install. 
Next we added the landing gear; a couple of matching buttons and some small gauge steel wire threaded thru:
Rollin'!
With the cardboard model; not bad for under-five construction
More power! Finally added a pipe cleaner propeller fastened with thread pulled through the fuselage & tied to the hole in the vertical stabilizer. 
I had fun with the girls, and it was great to see their confidence build as they worked on each step. Not long before we'll be putting them to work on the real thing!

Thursday, March 27, 2014

Whew

After sending in photos of the dented rudder skin (the Vans guys were nice enough to call it "blemished"), I got confirmation that it's a cosmetic and not a safety of flight issue. One less part to replace, and I like the idea of having some imperfections in the plane to keep me humble.

I also feel pretty good about my quality gauge; the few "significant" mistakes I've made were not safety concerns according to the experts, and the one re-ordered part (HS front spar) was my choice.

Time to build on!

Sunday, March 23, 2014

You can't fix it

...but stupid is still expensive.

I've started a tally of the cost of my mistakes. Thus far most are recoverable, but the overdrilled spar, the mis-driven rivets and the bent cleco are not. At this point I'm still waiting to hear back on the rudder skin.

See the bottom of the left-hand column for a tally of my "duh" moments. I hope the jar doesn't have to get too much larger by the end....

Rudder Stiffeners Riveted, Substructure Assembled

I got some good time in the shop this weekend with temps above 50. I fabricated & assembled the rudder R-917 shim and rudder horn,
Tapered the rudder horn to fit against the bottom rib,
And got some enthusiastic assistance from my lovely helpers!

I wrestled a bit with the counterbalance skin alignment even though the fluted ribs were dead-on, but ultimately using the "hedgehog" pattern brought everything in line.
After that, there was little to do but prime the skin stiffeners and rudder skins.
On Sunday I started back-riveting the rudder skins and almost immediately made 2 bonehead mistakes: the first was a mis-driven rivet, and the second (and more severe) was forgetting that the steel plate I was back-riveting on was only 16" long.
As you can see, the tip of the stiffener is a bit mangled, and there's a divot in the exterior of the skin.
Lesson learned: only tape in as many rivets as will fit on the backriveting plate. Or buy/build a larger plate. Following this, the second skin came out flawlessly.
I'm going to send these photos in to Van's technical support to see whether it merits replacement, but the skin is in good shape otherwise and there was no deep scratch or similar distortion. I decided to rivet all stiffeners on; if nothing else, it's good practice.
First complete back-riveted skin!

I got the skins clecoed to the sub-structure and match-drilled. Didn't complete the trailing-edge wedge, but that is a good place to start fresh.
Below are a couple more angles showing the trailing edge where I marred the right skin. It's far less noticeable from this angle.
A good weekend of building, a few new tricks learned, and a good-looking start to my first control surface! Plus some interludes to play soccer with the girls. A good start to spring.


Empennage: 5 hrs

Friday, March 14, 2014

Incentive Flight!

At the SportAir Workshop I attended in January, I got contact info for a few locals with completed RVs; Bob Calo finished his in 2012 and was brave enough to invite us down for show & tell.
Weather & schedules finally cooperated today and the fam & I made the trip to Frederick, MD.
 Everyone got a chance to try it on for size (on the ground) after Bob's preflight & safety briefing.
Bob fired up the 180 horses and we were off into a fairly stiff wind. His plane handled it beautifully, climbed like a kicked cheetah (we had to hold on the runway for a Cessna Cardinal to climb out), and he let me have a little stick time in the practice area.
This was my first time up in an RV, and it did not disappoint! The visibility was incredible, maneuvering required simple pressure on the stick, and she was eager as a puppy when Bob stood her on end for a wing-over.
Not having been in a flying RV before, I was anxious about whether it would be a comfortable fit; it would be nice to have a few more inches of legroom, but headroom was fine, and shoulder-width was tight but manageable. All in all, I think it will work fine; it's snug but fits (& acts) like a sportscar.
Bob has a beautiful bird, and I'm extremely grateful for his time. Motivation meter is full - time to get back in the shop!

Dimpler and a movie?


Monday, March 10, 2014

Rudder stiffeners match drill, deburr, dimple. Also pirate art.

 Part deux! Ten degrees colder, but that didn't stop our crew. Sam & Erin tackled match-drilling stiffeners/skins, while I worked on final deburring of the opposite stiffeners.
I began having second thoughts about inviting Sam....

Her penance was removing vinyl to permit deburring/dimpling of the skin. Natalie took pity on her and helped. 
While trying to stay ahead of my helpers, I cut the R-917 shim - and realized my hacksaw blade is sharp as a spoon.
I got the right skin dimpled after Erin deburred.
I got the left skin peeled as well.
We had a short break for guacamole, and then urgent sidewalk ARRRRt before dinner. These are the times that make building - and not building - the plane worth it. 
Finished off by dimpling the stiffeners later on. Just need to scuff/prime before we can bang some more rivets!


Empennage: 3.5 hrs