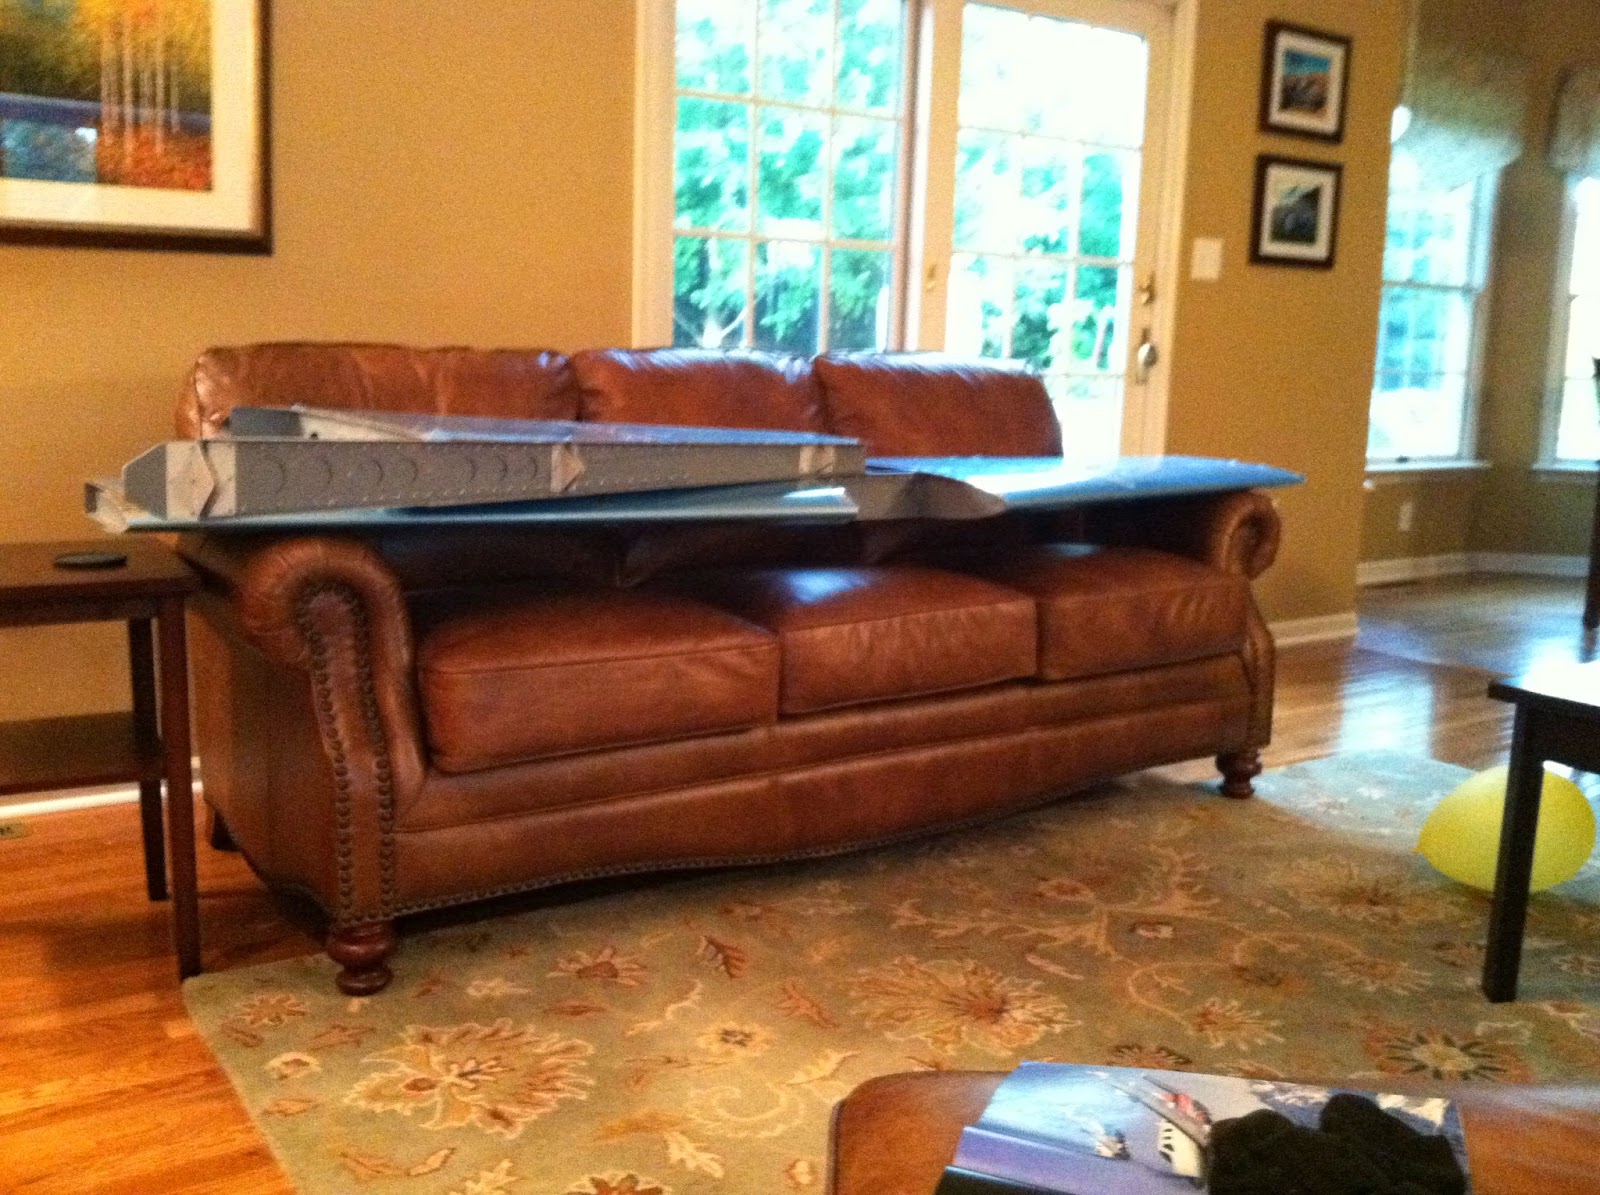
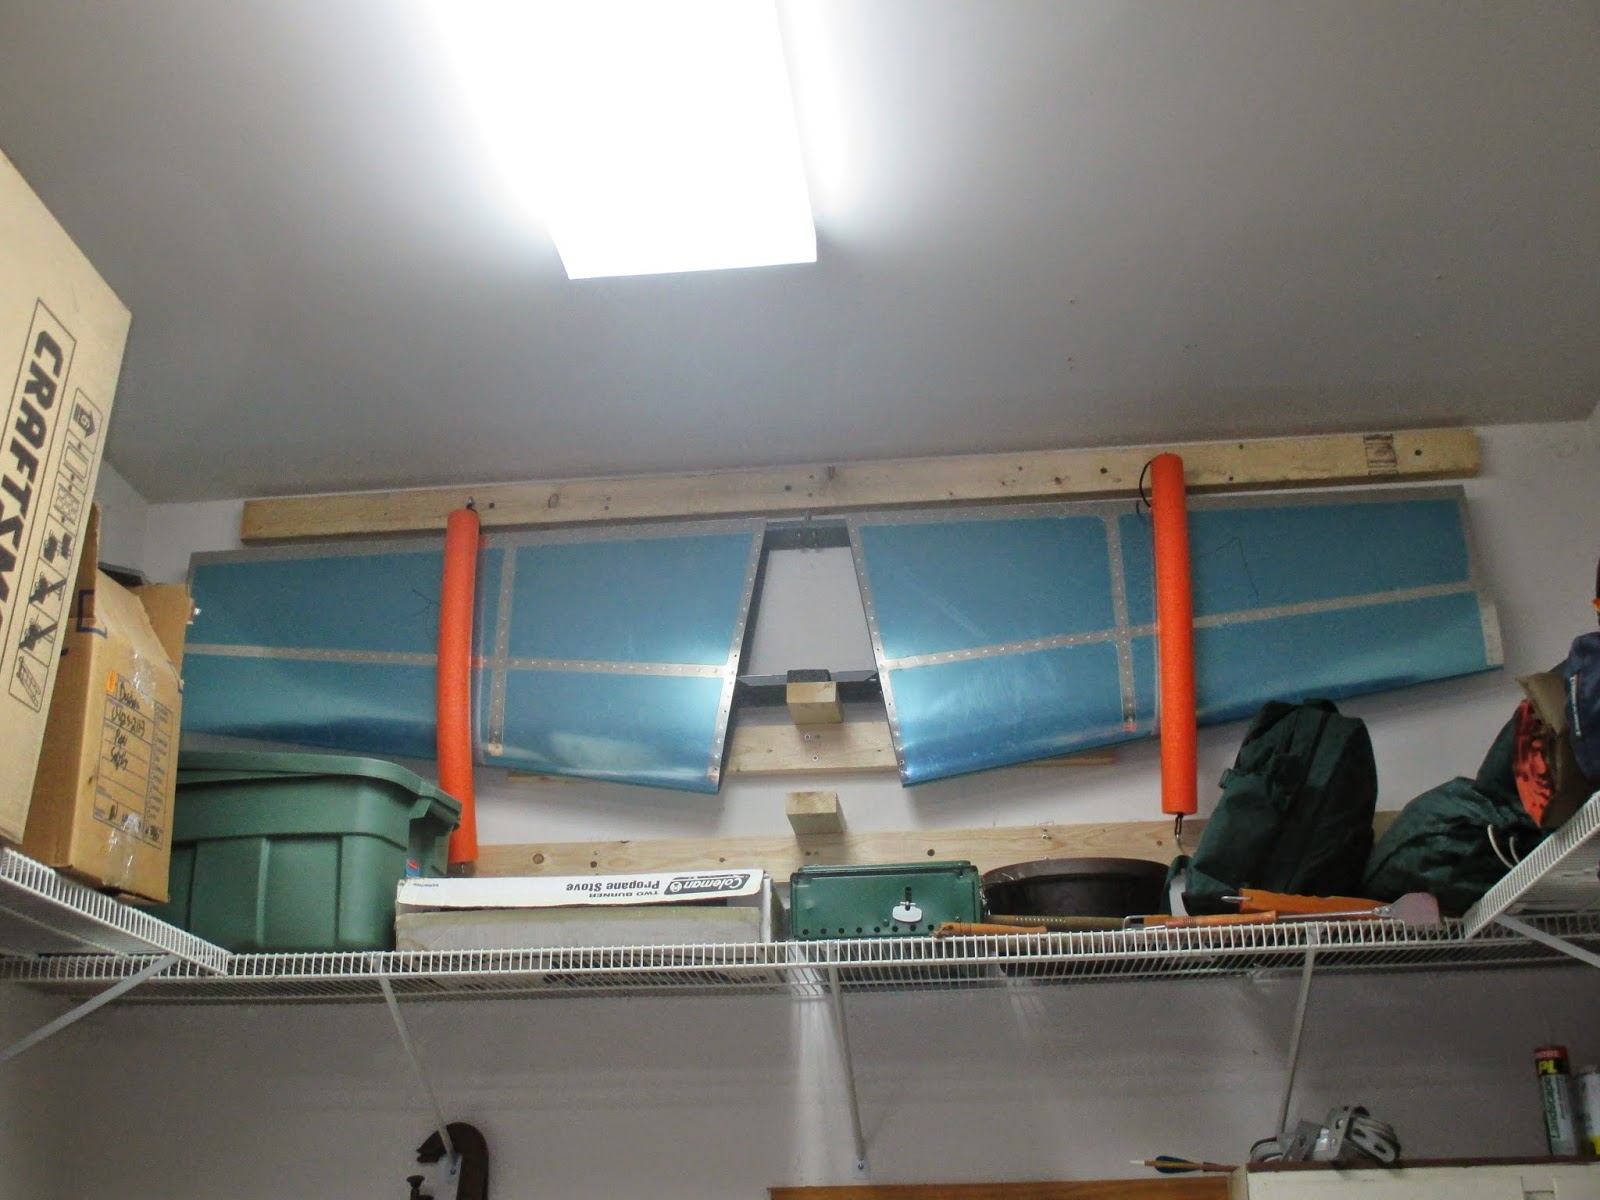
I took advantage of some time this weekend while the girls are hornswoggling grandma & grandpa out of cookies to work on the rudder.
Most holes were already deburred, and I really don't mind that part - my wife has even said it's her favorite task to help with.
Edge deburring, on the other hand, is a PITA. This was slightly broken up by the replacement counterbalance skin I ordered to replace the cracked part - 5 days from order to delivery; thanks Vans! Mulligans are much easier on the ground than in the air.
The skin seemed to fit better than the original, possibly because all rib & spar holes were already drilled & deburred.
Here's the skin drilled, deburred & beveled where the rudder skins overlap it to provide less ammunition for critics.
Most dimples were easy to reach with the DRDT2, with a few requiring the manual squeezer.
The trailing edge of the ribs are extremely tricky to access. Some homebuilders will fabricate their own tools; I don't have the luxury of welding kit, surplus steel stock & gear to grind my own dies, so I found this combo die receiver & slim female die which are worth every penny.
And the result after a few taps from the 3X rivet gun. If only actually riveting them were this easy....time to buy another tool (don't tell my wife).
With all edges deburred and dimples complete I prepped the AEX trailing edge wedge and aluminum angle.
(whatthehuh?? The slim trailing edges of control surfaces used to be folded; finding that a skinnier profile offers better handling characteristics, Vans move to a wedge that provides the ideal angle at the trailing edge of the rudder while narrowing to a very thin width at the rear)
Many builders find that keeping the trailing edge straight for riveting required a guide or guides, such as aluminum angle available in various lengths at Lowe's & Home Depot. I bought 2x 6' lengths.
I clamped the wedge to one piece of angle being sure to keep the edges flush and drilled along the length, moving the 1" Cleco clamps as I went.
With one side complete, I flipped & drilled the other angle .Then taking advantage of the wedge being secured, I countersunk all holes on both sides, being careful not to over-countersink which would leave the aluminum too thin & possibly enlarge the holes. Still with me?
All parts deburred, dimpled & countersunk! Ready for scuffing, cleaning & priming.
I was tired from a long session, so didn't get the counterweight drilled out, which is the final bit of drilling for the rudder. Not sure how much more I'll get done this week, but it's good to know the rudder is nearly ready for riveting.
Empennage: 5 hrs


