While Dad & Ben started riveting the left elevator skeleton I finished the trim tab bends and clecoed on the rear trim tab spar.

These bends were a piece of cake compared to the tabs on the LE.

The guys did a great job riveting on the platenuts and reinforcement plates.

Likewise the counterbalance ribs were riveted together quickly.

I clecoed and clamped the trim cable attachment horns to the bottom of the trim tab and match drilled them to the skin.

I then removed the horns and marked them for cutting, and then set aside the trim tab to help with the left elevator assembly.

These flush head rivets seemed to go a bit easier than on the right elevator, but there still isn't much room to get normal (90 degrees) to the forward side of the spar. And bending the root rib isn't an option, since it just creates a gap that the rivet would fill.

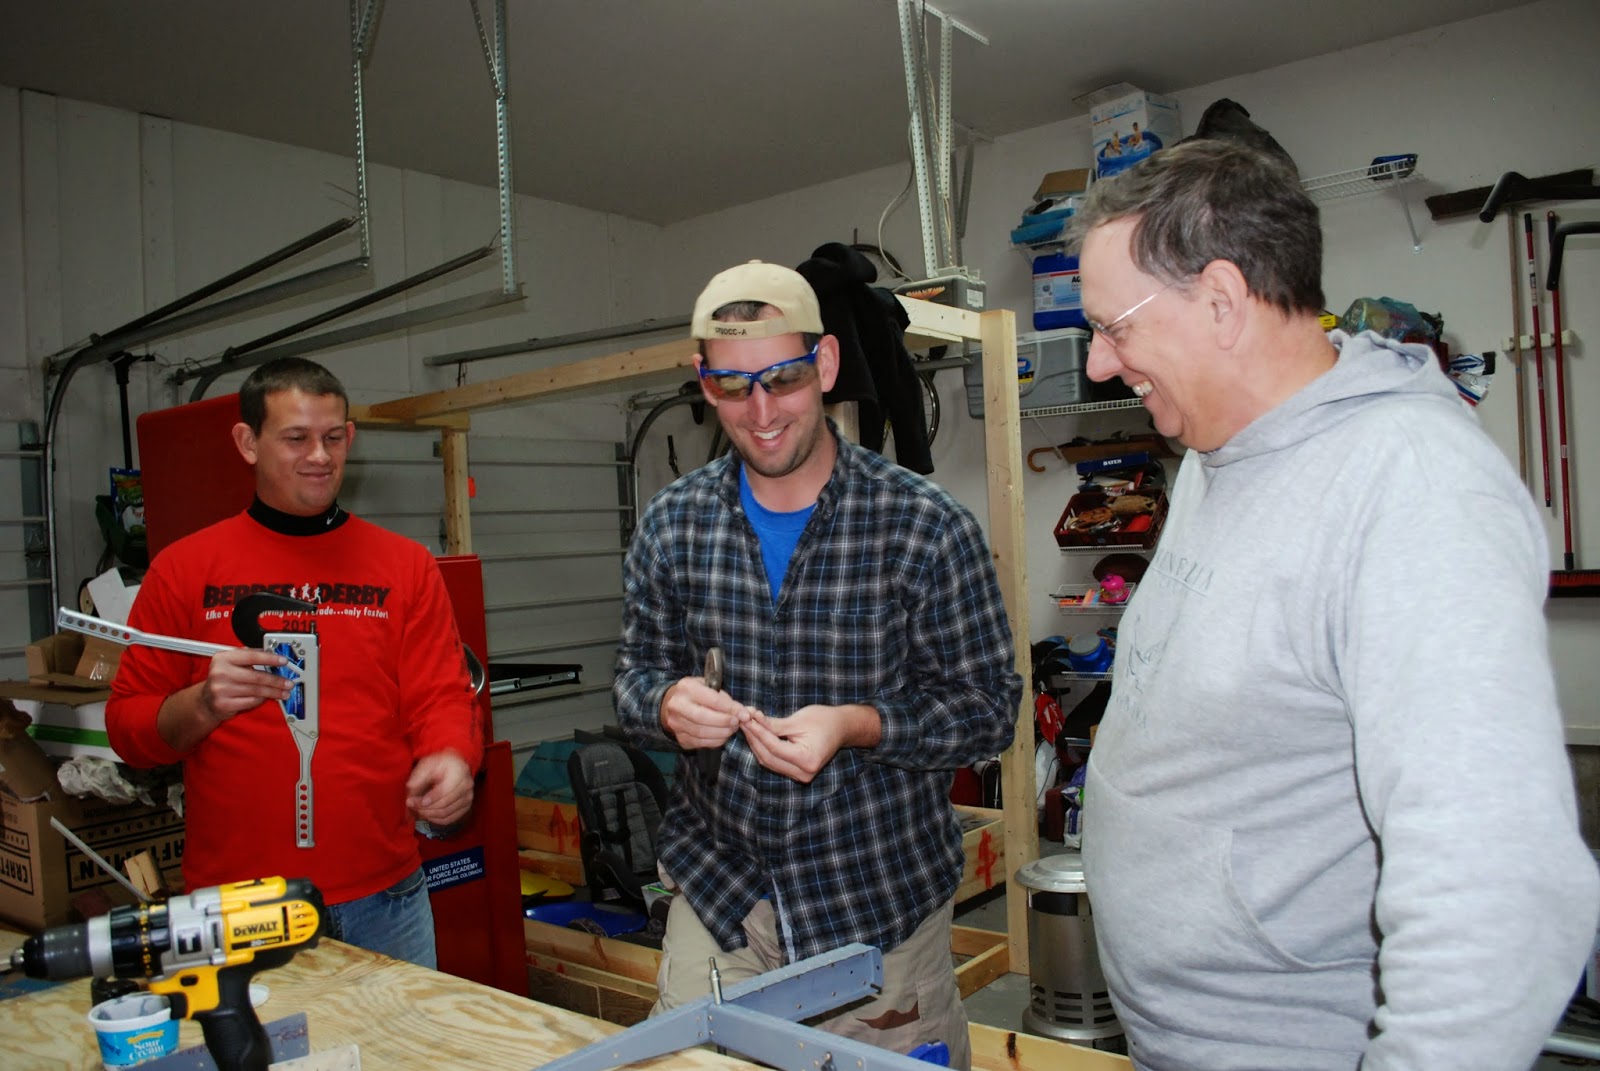
Next up: elevator control horn installation. Dad provided expert supervision.

Squeezing rivets - the method acting way:

We were prepared this time and dabbed the RTV on the stiffener ends BEFORE riveting the skin to the skeleton. Even low slearners can be taught...

When riveting the narrow end of the counterbalance rib on the right elevator we had an interference problem with even my no-hole squeezer yoke - on the top, of course - and had to use a combination of the rivet gun & mushroom set with a flat head screw driver and thin polished bar steel, finished off with a shot from the no-hole squeezer. It worked, but it wasn't easy or pretty.
We planned ahead on the left elevator, riveting the top first and changing the pattern, and were able to set all rivets with the no-hole yoke. MUCH easier!

We had a lot of help riveting the skin to the skeleton. Dad, Mom, Ben, Sam, Erin & I each got to squeeze a few rivets. It was great to see everyone excited to help!


And then everyone got to sign the finished part!

We closed up the bottom skin but left the top open near the trim tab (inboard) area to allow easy access when mounting the trim hardware.

Setting the elevator aside for me to finish the trim tab assembly later, we brought out the wing spars which I had countersunk for the platenuts, and primed the countersunk holes.

Next up we had a 3-man operation clecoing platenuts to the spars, riveting them on, and...I'm sure I was doing something important, too.


I had to drill out about 8 rivets and am sadly getting pretty good at it...lots of practice I guess. I mangled a few nutplates in the process and will have to order more.

Mom proved that whacking my brothers & I with wooden spoons when we misbehaved was good training for squeezing clecos.

These were the best build sessions I've had so far, and are exactly why we started this project: spending time with people we care about, everyone pitching in & learning along the way.
Empennage: 5 hrs
Wings: 2 hrs
No comments:
Post a Comment