Monday, May 26, 2014

Elevator hinge bolts, SB 14-01-31

 I took advantage of Memorial Day weekend to move the ball forward a few yards. First up, torquing the elevator hinge bolts that I'd skipped.
Our "tool guy" at the office loaned me his torque wrench since I haven't settled on one. This was a click type, and while I'm drooling over my brother's new digital wrench, I think one of these would work just fine.

This being my first time torquing anything (what? "that's as far as i can turn it" isn't kosher?), I did some research and found this eye-opener on CarCrafters.com. It's an interesting read on the care & quality of various brands.
I found that the torque wrench wouldn't fully engage until the nuts were snug; used some of my dusty homeowners' tools to get there, and then finished with the clicker. Too easy.

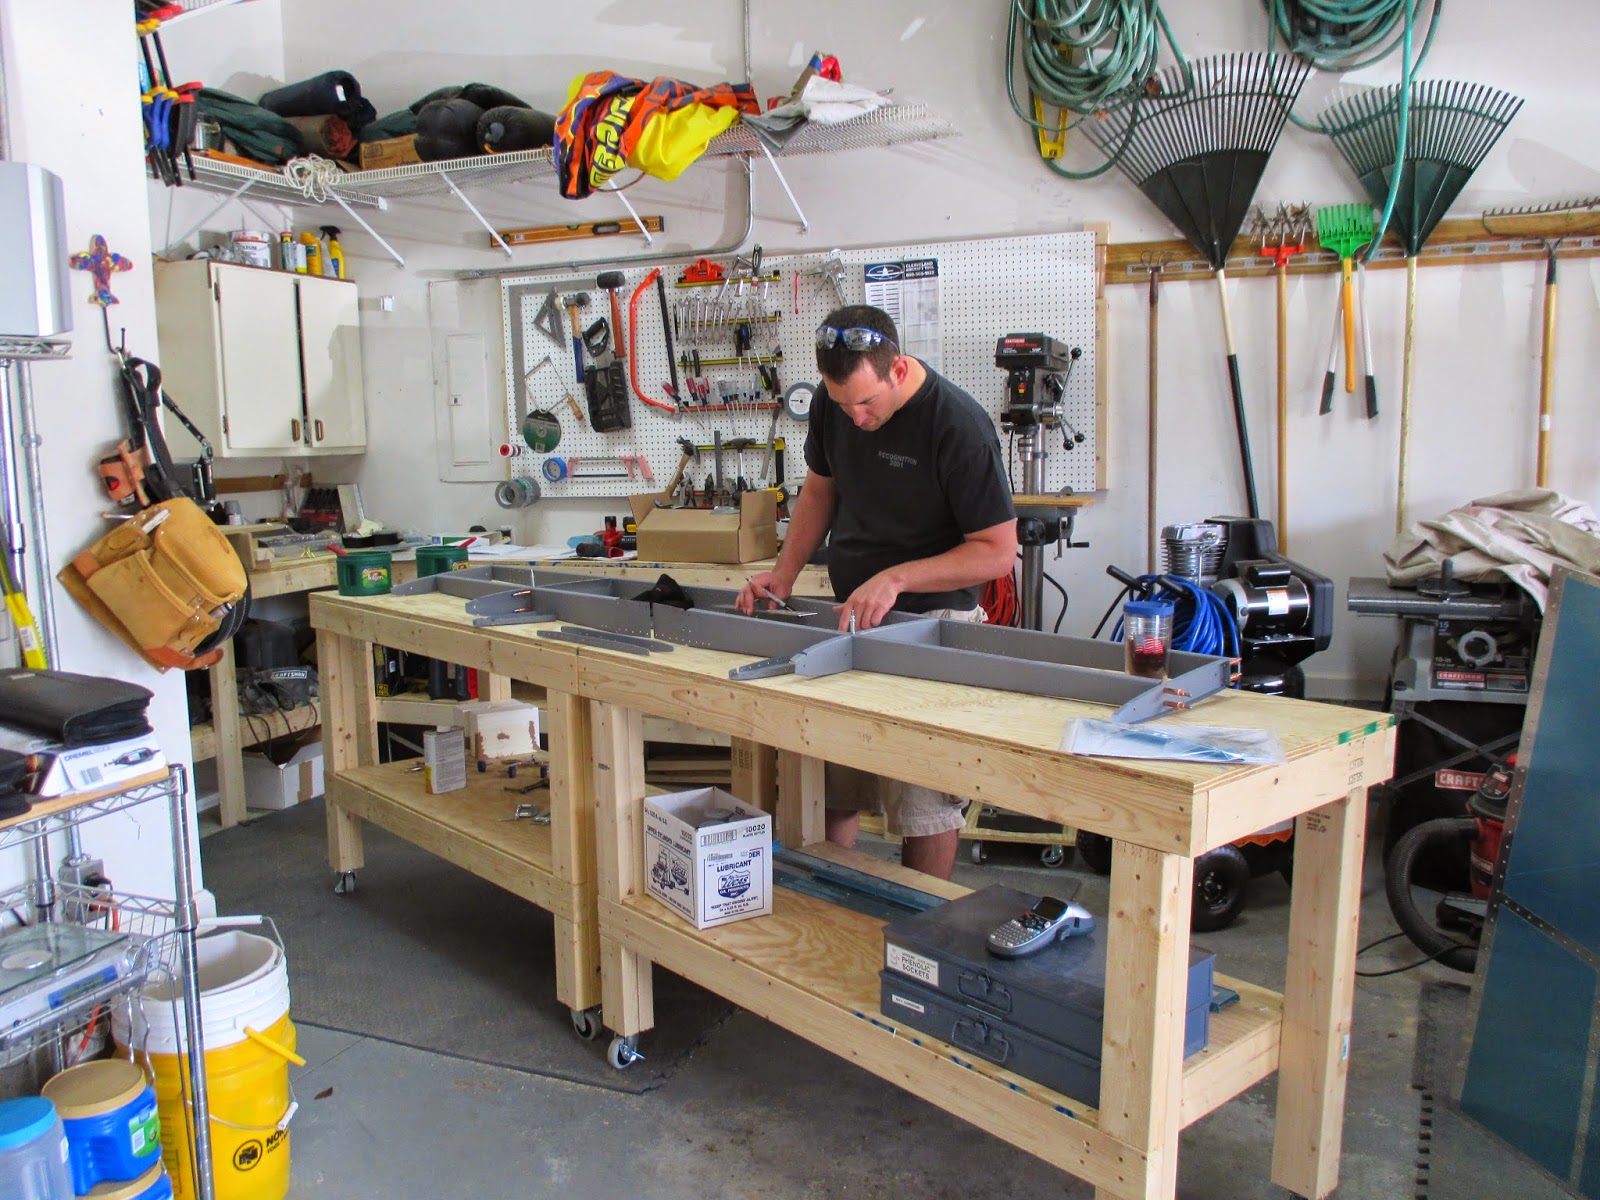
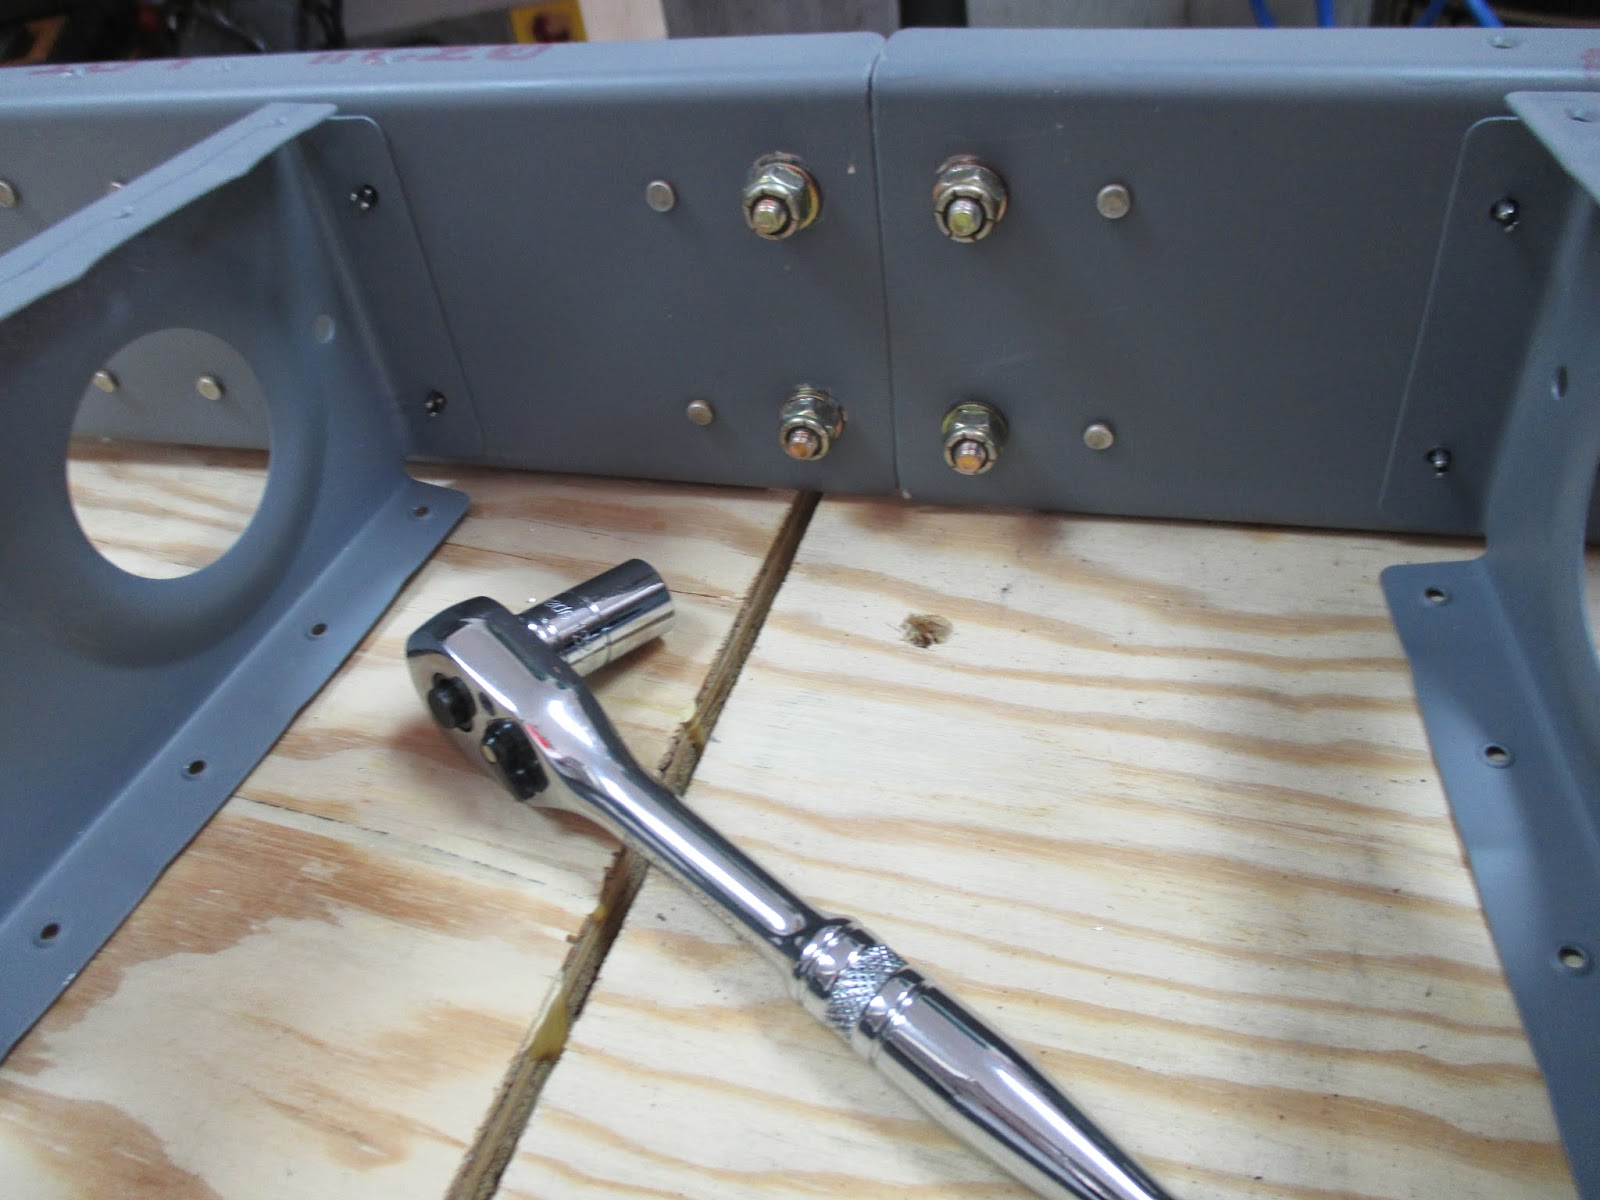
Next was resuming construction of the SB and HS. With the addition of the doubler plates to reinforce the forward spar the factory-punched main ribs (HS-405) were too long. I cut off the forward flange per the SB prints, measured, drilled & deburred.

Next up: edge-deburring the doubler plates, drawing rivet lines & clecoing them in place to match-drill. Lining up the bends was somewhat tricky, and led to some complications further on.


Clamp jiggery to match-drill. I think everyone should own some of these 1/2"- & 1"-jaw cleco clamps. Very handy.
Since nobody actually uses home gym equipment, I turned mine into an excellent drying rack for the deburred & primed doublers.
At this point I felt like I was tap-dancing, doing a partial step from the SB and a partial step from the construction manual.

I drove the first rivets in a few months on the HS with my squeezer, securing the doubler plates and the front spar reinforcement angles.

Next up was flush-riveting the nose ribs (HS-707) with the rivet gun and bucking bar. By which I mean carefully drilling out a couple of rivets... the foremost rivets on the leading edge, especially when riveting the second side, were tough to keep in place.
Finally, success! Both left and right horizontal stabilizer nose ribs installed. Next up: finishing the SB part modifications, and final riveting.

 
Empennage: 9 hrs

Thursday, May 22, 2014

Wing Inventory

After a few weeks on the road with work, it was a welcome surprise to have the wing crates arrive early.
Man, that spar box is LONG! (Found out it contains some fuselage pieces as well...no idea where I'm going to store that stuff for a couple years...)
 Unfortunately, the shipping company treated them like pinatas with the following results:


 The spar crate defintely got kicked around less, but it still had signs of damage.
Since the top of the crate had been knocked askew by the shipping company, the exposed staples dragged across the top of one of the right wing ribs.


 Other than the damaged rib, everything seemed to survive unscathed. I'll be contacting Vans & the shipper to try to get the rib replaced.

Couldn't have done it without my expert unpacking crew!
 The fiberglass tips really bring the size of the wings into perspective...makes the empennage pieces we've been building feel like toys!
Inventory took 3 weeks thanks to the recent nice weather - gotta clear the honey-do list first - but it's finally done! I'm short 5x AN509-8R8 flat head screws for attaching the fuel tank, and everything else is here. Not too shabby.
Did I mention there are a lot of rivets?

Wings: 2.5 hrs