Happy New Year! We rang it in with riveting & deburring. First up: finishing the rivets in the trim tab control brackets. I found I could reach all of them after removing the trim tab spar by using both the regular and flange-nosed yokes on the hand squeezer and an assistant bending the trim tab open so I could mash the rivets.
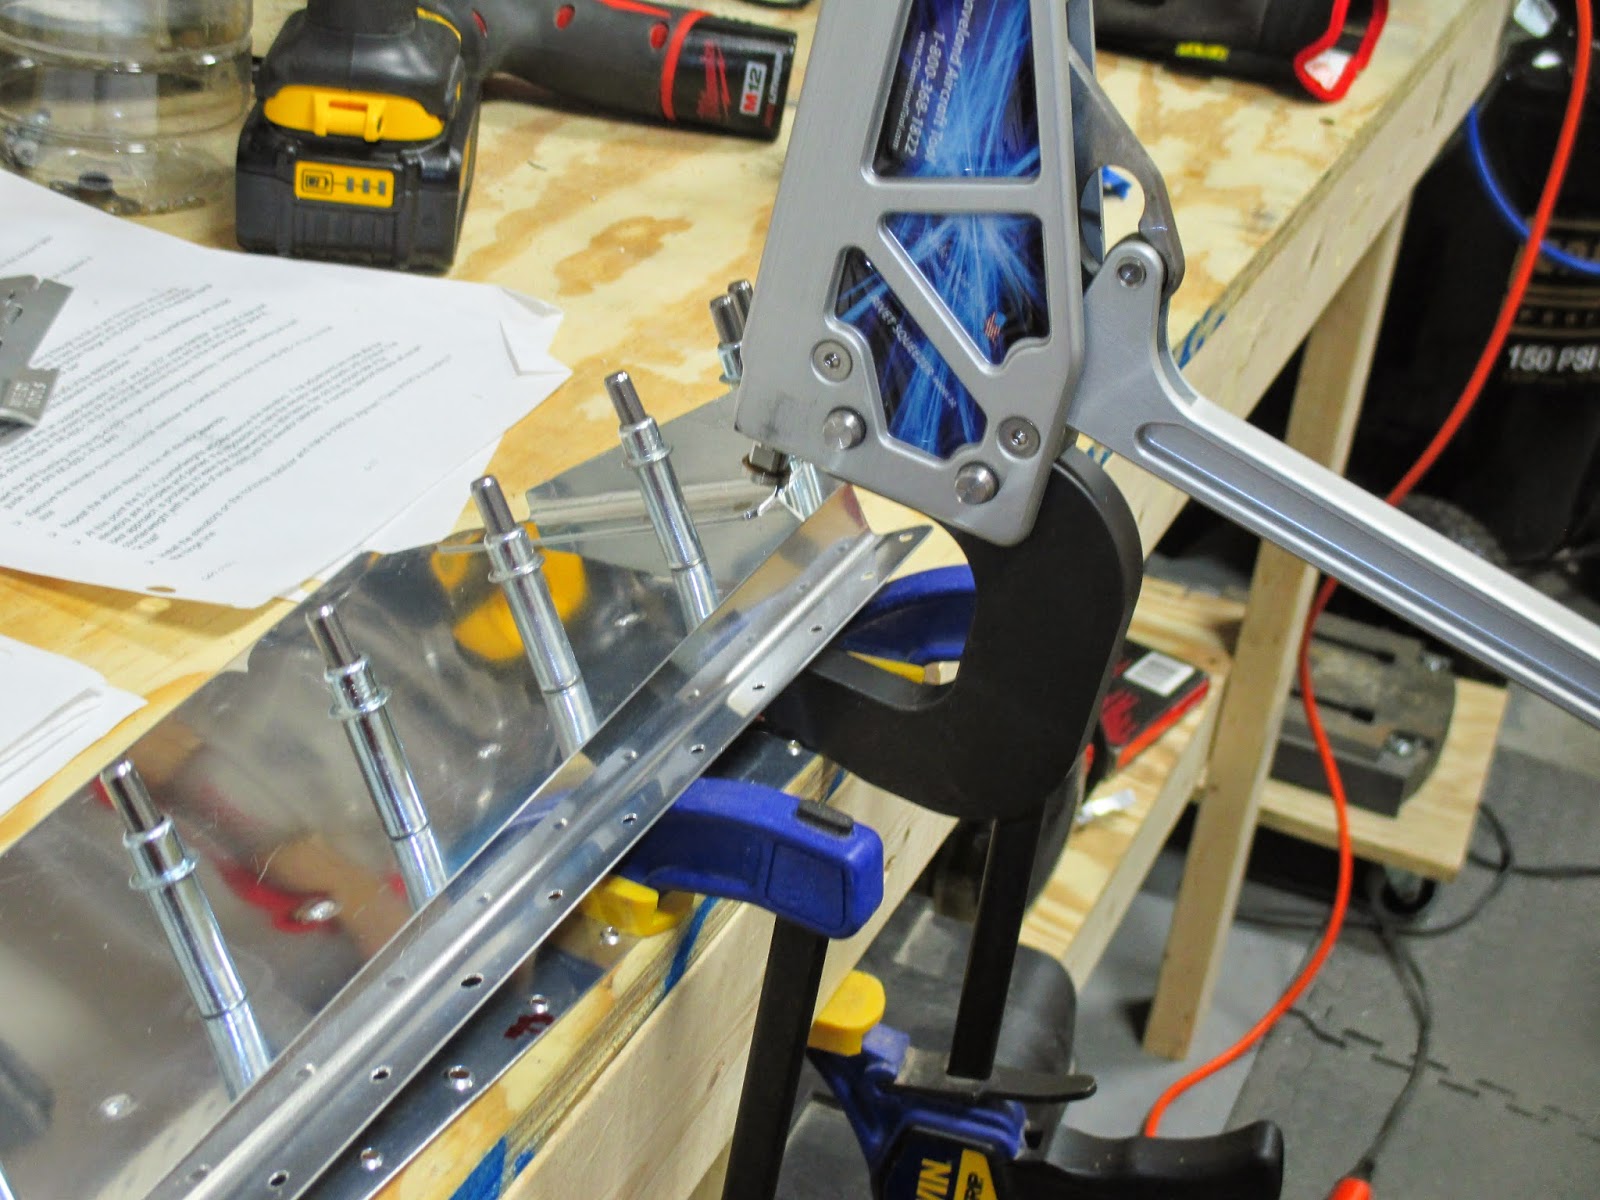
Next I clamped the trim tab to the workbench and clecoed the trim tab spar back into place. Nat expertly placed rivets while I worked the squeezer with the flange yoke. The results from this tool are fantastic.

Trim tab spar bottom rivets complete!

I used some specialized Aviation Adhesive to align the trim tab & hinge with the elevator trailing edge, and match-drilled the hinge.

After deburring the holes, ensuring there is no twist in the trim tab, and match-drilling the 1/8" holes for the blind rivets in the bent tabs, I primed the hinge on the top side and riveted the trim tab together.

It's not perfect, but there are no cracks, the rivets are set well, and the alignment with the elevator trailing edge is sharp. I'm happy with it, especially since most builders apparently build 2-3 of these to get a good one.

I still have to install the trim tab cable which comes with the fuselage kit, and do the fiberglass work, and therefore I'm not riveting the top skin on the inboard side, but that's a complete elevator! I guess I have no more excuses not to work on the wings.

Erin has been a trooper deburring wing ribs. She even bought herself a few Scotchbrite drums to mount in a die grinder or drill for Christmas! Ok, so she claims they were for me, but I have yet to use them...

Empennage: 4 hrs
Wings: 3 hrs
No comments:
Post a Comment