Sunday, August 24, 2014

Rudder assembly & elevator stiffener, skin prep

With everything for the rudder primed we started squeezing rivets, beginning with the nutplates and reinforcement plates.
 
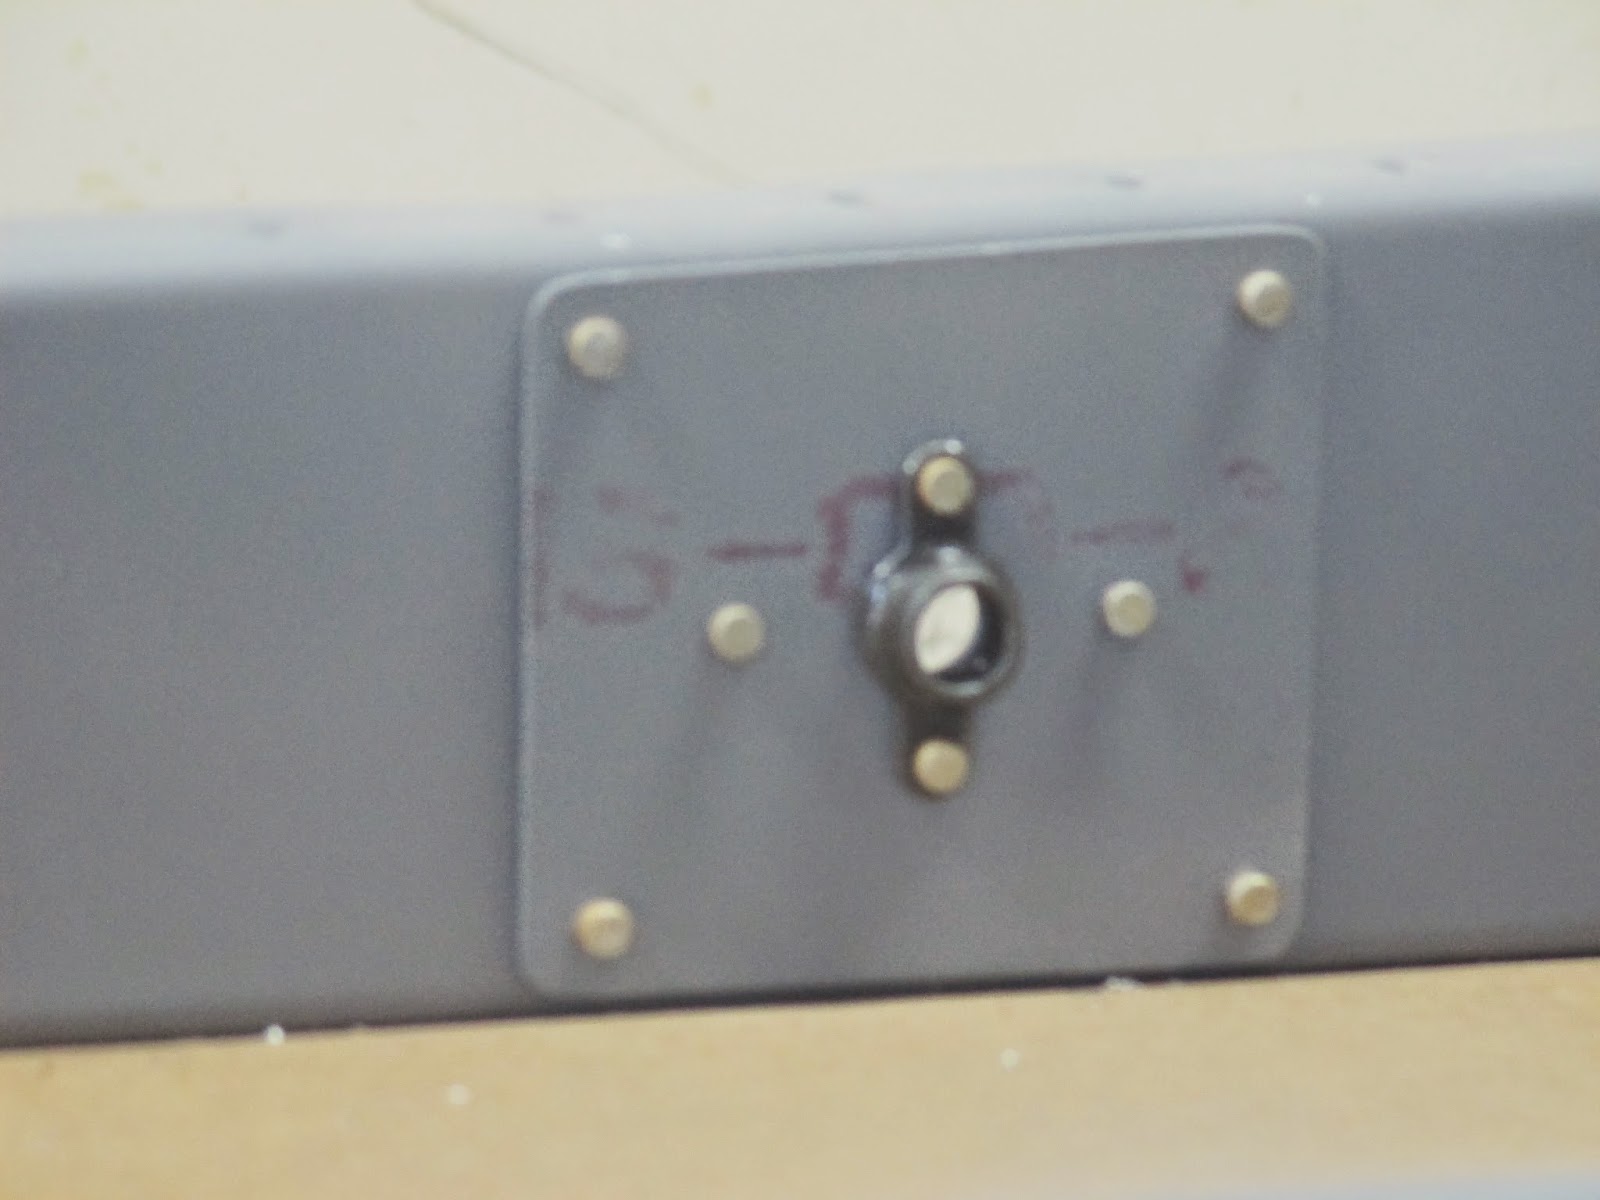
This is my first installation of a nutplate; they're threaded receivers for screws or bolts of varying sizes that are riveted to the structure of the plane. The screws & bolts are how temporary or removable parts are fastened - think inspection hole covers, instruments, control surface bearing rods, etc.
 Audrey was a big help placing rivets and keeping the shop full of smiles.
 Nice work, Audrey!!
 Some balding guy snuck in to squeeze some rivets...
 But he did ok.

 The first couple attempts I made at riveting the nutplates resulted in some ugly shop heads on the rivets; after while I realized it was a serious bonehead error - I was using rivets 1 size too long!

I was able to remove the nutplates without damaging the spar or reinforcement plates, but after placing the nutplates into a bench vise to remove the crappy rivets with a combination of drilling #40, #30 & twisting with needle nose pliers, I found that I'd removed metal from both nutplates. 2 more errors for the "oops" jar, and 1 more lesson in humility.

I'm planning to rob Peter to pay Paul (seriously, when did that actually happen in the Bible?) and grab some nutplates from the wings to finish the elevators. Eventually I'll have to order more from Aircraft Spruce, but I figure I'll screw something else up before then.
 Above picture = manufactured heads on the thinner material (spar).
 I riveted the rudder horn & nutplate at the bottom with the squeezer for all but the upper, outside-most rivets. Those I had to bang/buck with the rivet gun.
 Next I riveted on the rudder counterbalance rib & skin, the former with the squeezer and the latter with the rivet gun & bucking bar. Even with breaks between build sessions, bucking rivets comes MUCH more easily than it used to!
So about the time I was gaining steam, it was time for another "oops." Did anyone catch it in the last post?
 
That's right, like a moron I primed the OUTSIDE of the counterbalance skin! Grr... At this point I'm going to proceed with riveting it on for practice, and if I find that paint won't cover it later, I'll drill out the rivets and install a new skin.
 With the rivets set, the next step was to fit and install the rudder counterweight. It needed several spots filed slightly to clear the rivet shop heads.

However, once it fit, I realized that the #8 dimple I created in the counterweight rib isn't sufficient. I've ordered a #10 die set to re-dimple the rib, but I'm disappointed that Avery Tools' "deluxe" die set didn't include an essential pair. Moving on...
Brian came over to help for a while, filing channels on the counterweight and marking and cutting (with my lovely wife) on the skin stiffeners for the elevators.
Sunday we match drilled and deburred most of the stiffeners. Tedious work, but fun to be on a new part!
 Erin wasn't too sure about drilling on the skins, but she was game for drilling the nutplate rivet holes to size, stripping blue plastic, marking pieces and (her favorite) hole deburring.
 
Meanwhile I was match-drilling the skins to the stiffeners & working the Scotchbrite wheel.
 We finished about half of the stiffeners & elevator trim plate (E-615).
 Good teamwork, and a productive weekend! New tools are on order - the #10 dimple dies as well as a thin-nose yoke for the rib tip rivets - and I'm debating ordering a longeron (flange) yoke for the rivets on the rudder horn brace. I don't have a bucking bar that will fit, so I either accept using a few pop rivets or bite the bullet and order new tools. We'll see what part of my nature wins.
Time-lapse:
 
 
Empennage: 9 hrs

Sunday, August 17, 2014

Rudder scuffing & priming

I took advantage of the anniversary of my birth to get some help in the shop (also how I got my wife to go camping the first time...go with what works!).
 
I had a surprise helper who hasn't had much interest in the process so far:
 Audrey did a great job scuffing the reinforcement plates, and Erin did almost all of the scuffing & cleaning while I touched up a few edges.
 All rudder parts ready for priming!
 I imagine the parts pile will be quite a bit bigger once we dive into the wings, and might require a full sprayer system...until then I'm sticking with Napa 7220 Self-Etching Primer in a rattle can.
 Anyone see the problem with the above picture?

Oh, and organizing sockets? Actually a matching game for 5 year olds! Seriously, kept her occupied for almost an hour...
 
Empennage: 2 hrs
 
Workshop: 1 hr