Sunday, February 23, 2014

Vertical Stabilizer Complete!


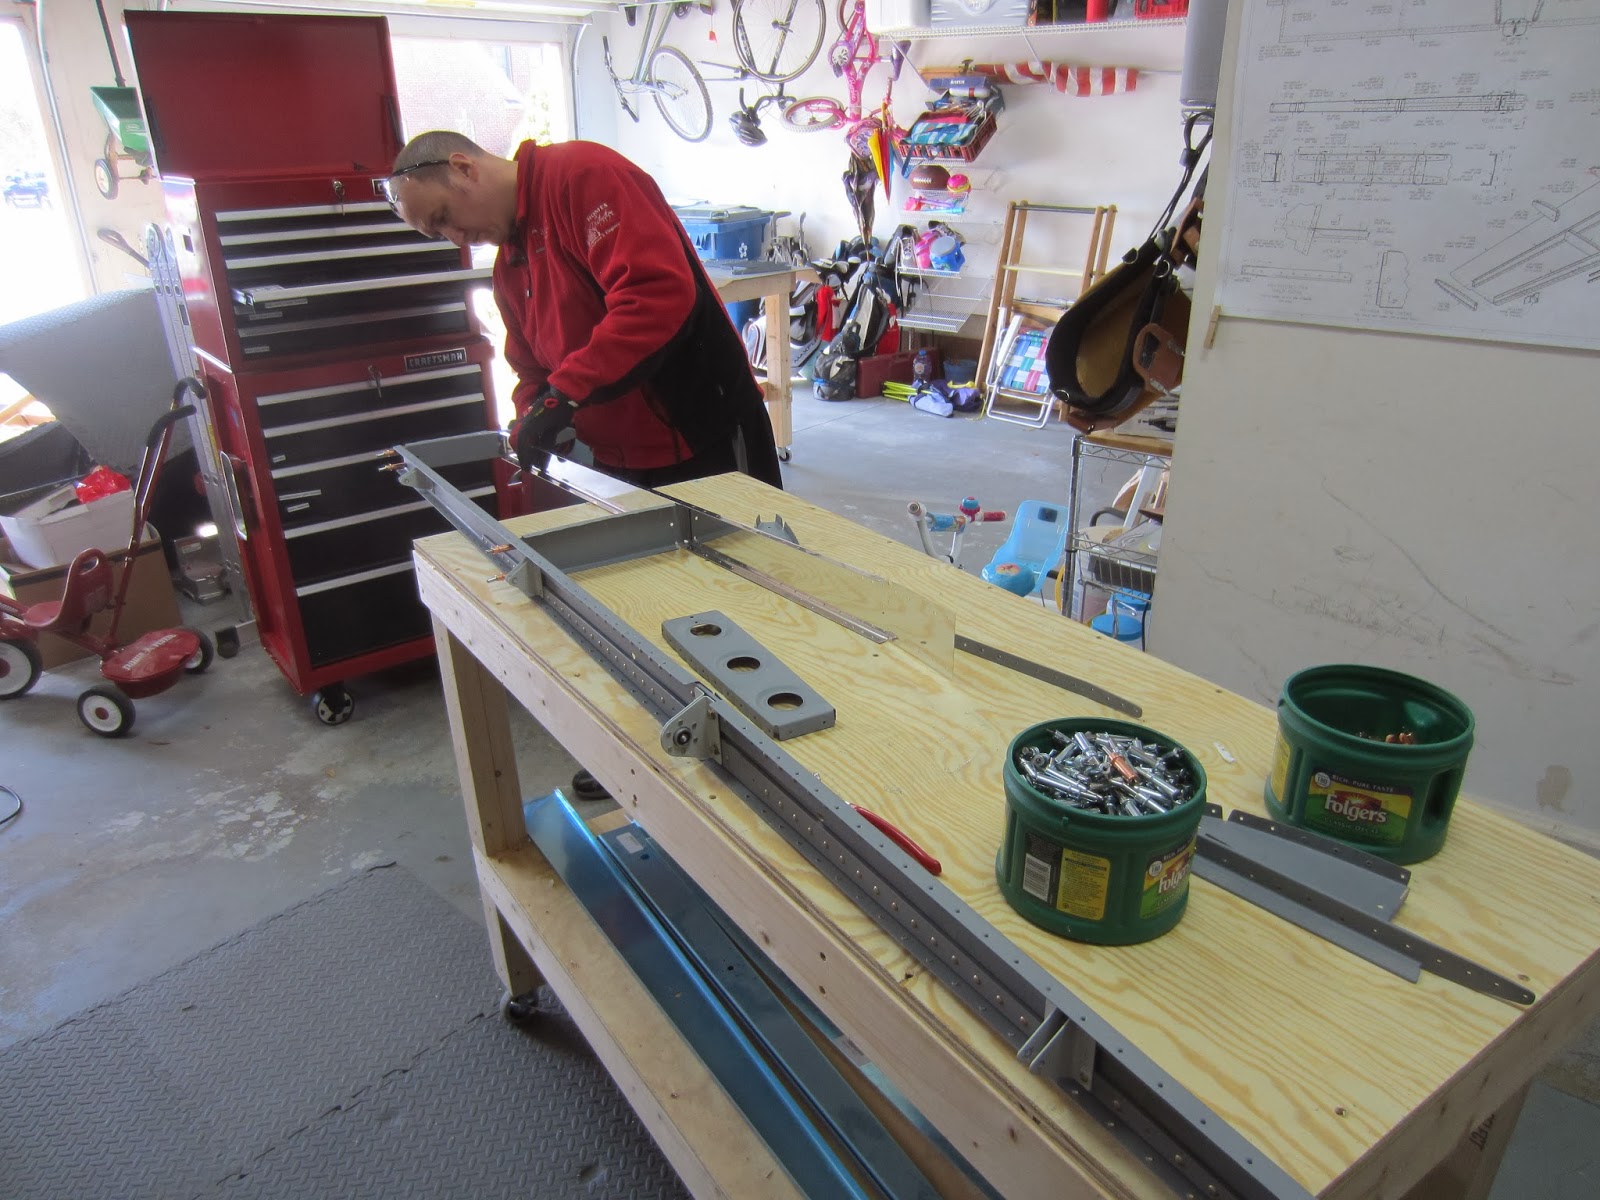
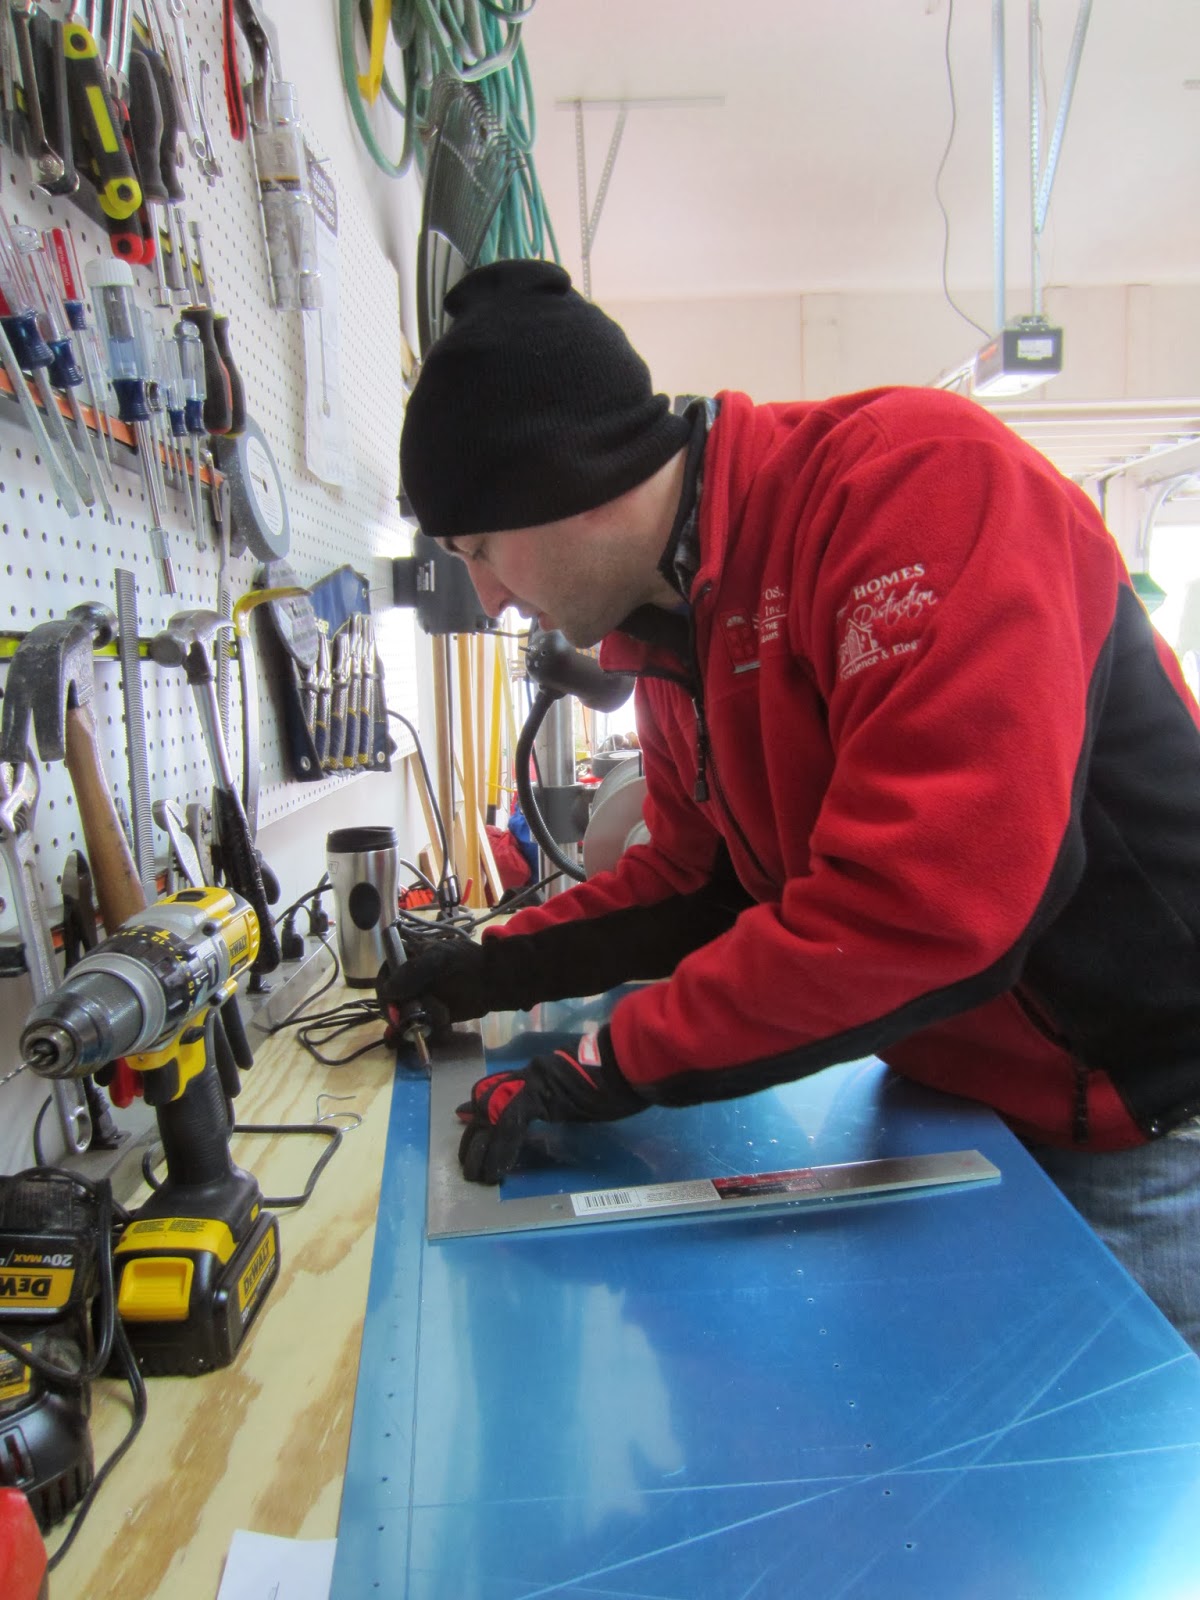
Steve & I got the VS ready for riveting...
 ...and I promptly screwed up by riveting universal rivets in 3 of the flush-head rivet locations at the base of the spar.
 We successfully drilled out the "duh" rivets, and I've decided to save the scraps from my mistakes; hoping for less than a coffee can of them.
These certainly weren't the only ones - I left a few smileys in some rivets, the worst of which we drilled out and replaced.
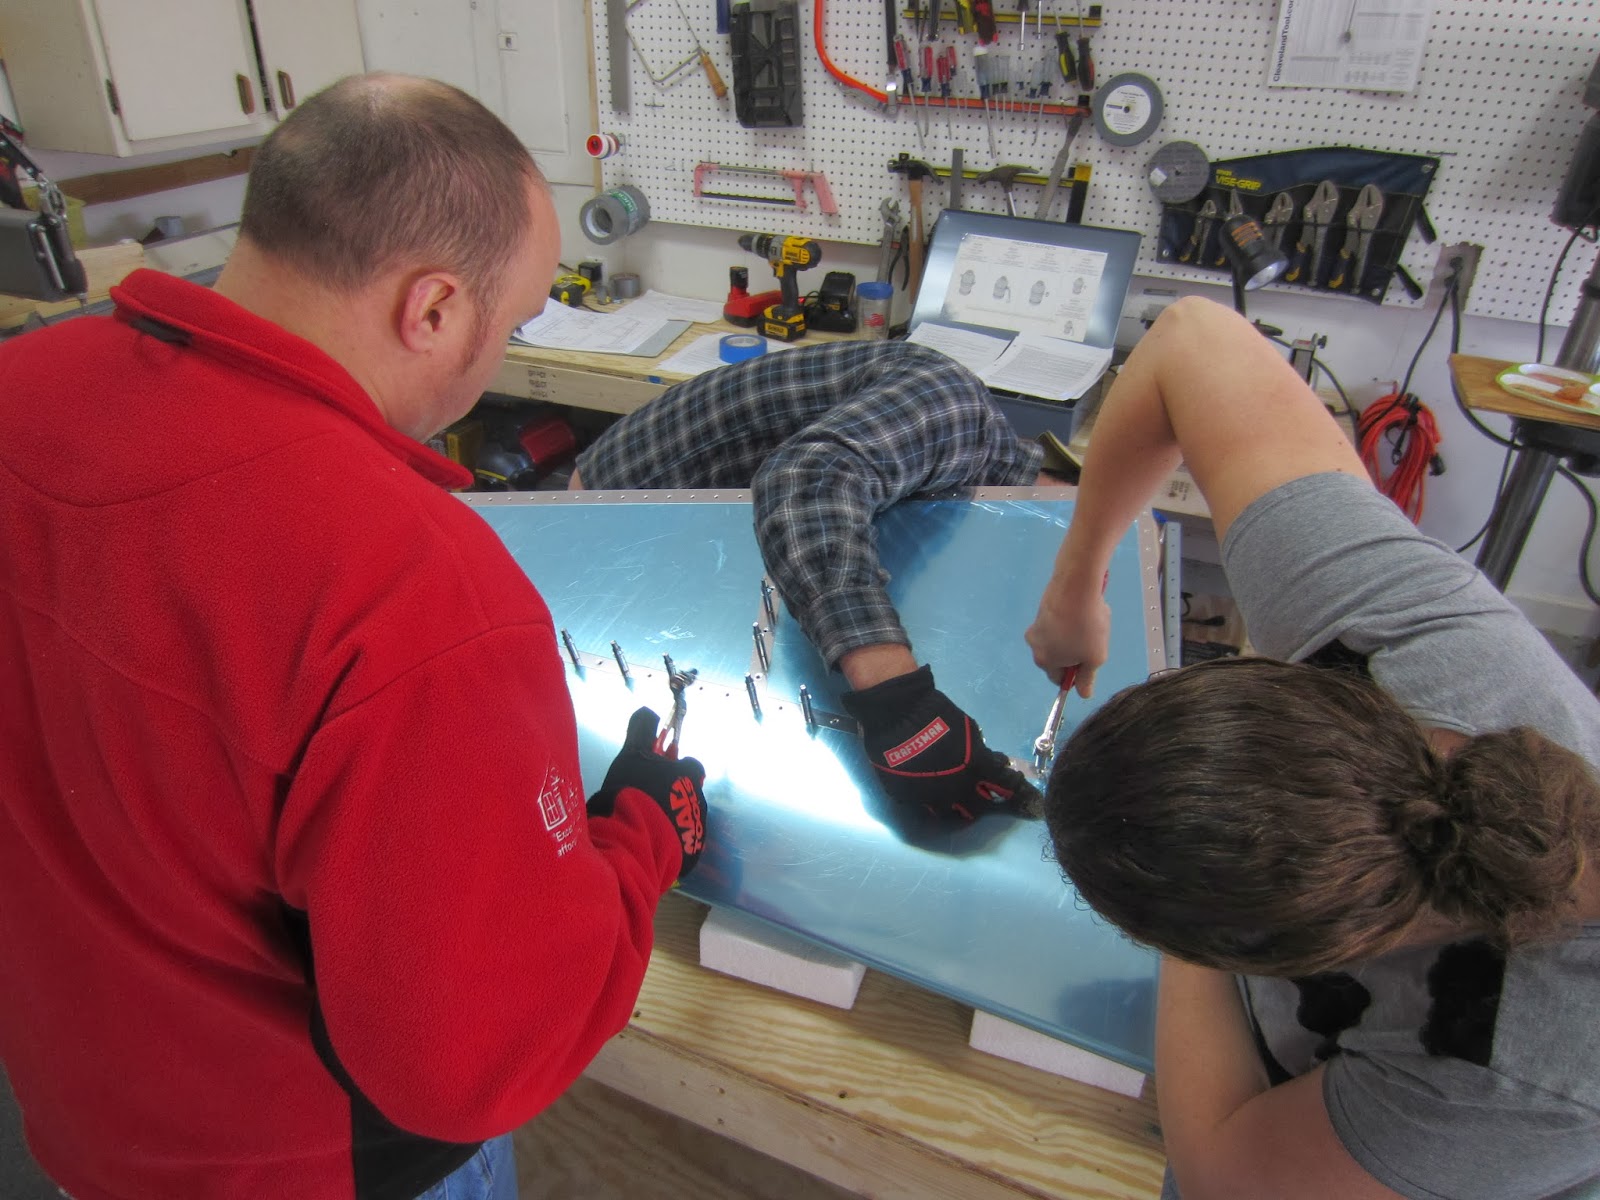
 Michelle checked in on us and threw a few clecos in! I was cowering in fear of the dynamic duo.
Bob Collins, a fellow RV-7 builder, had a great tradition of having friends and helpers autograph the components they worked on. Steve & Michelle both signed in.
 
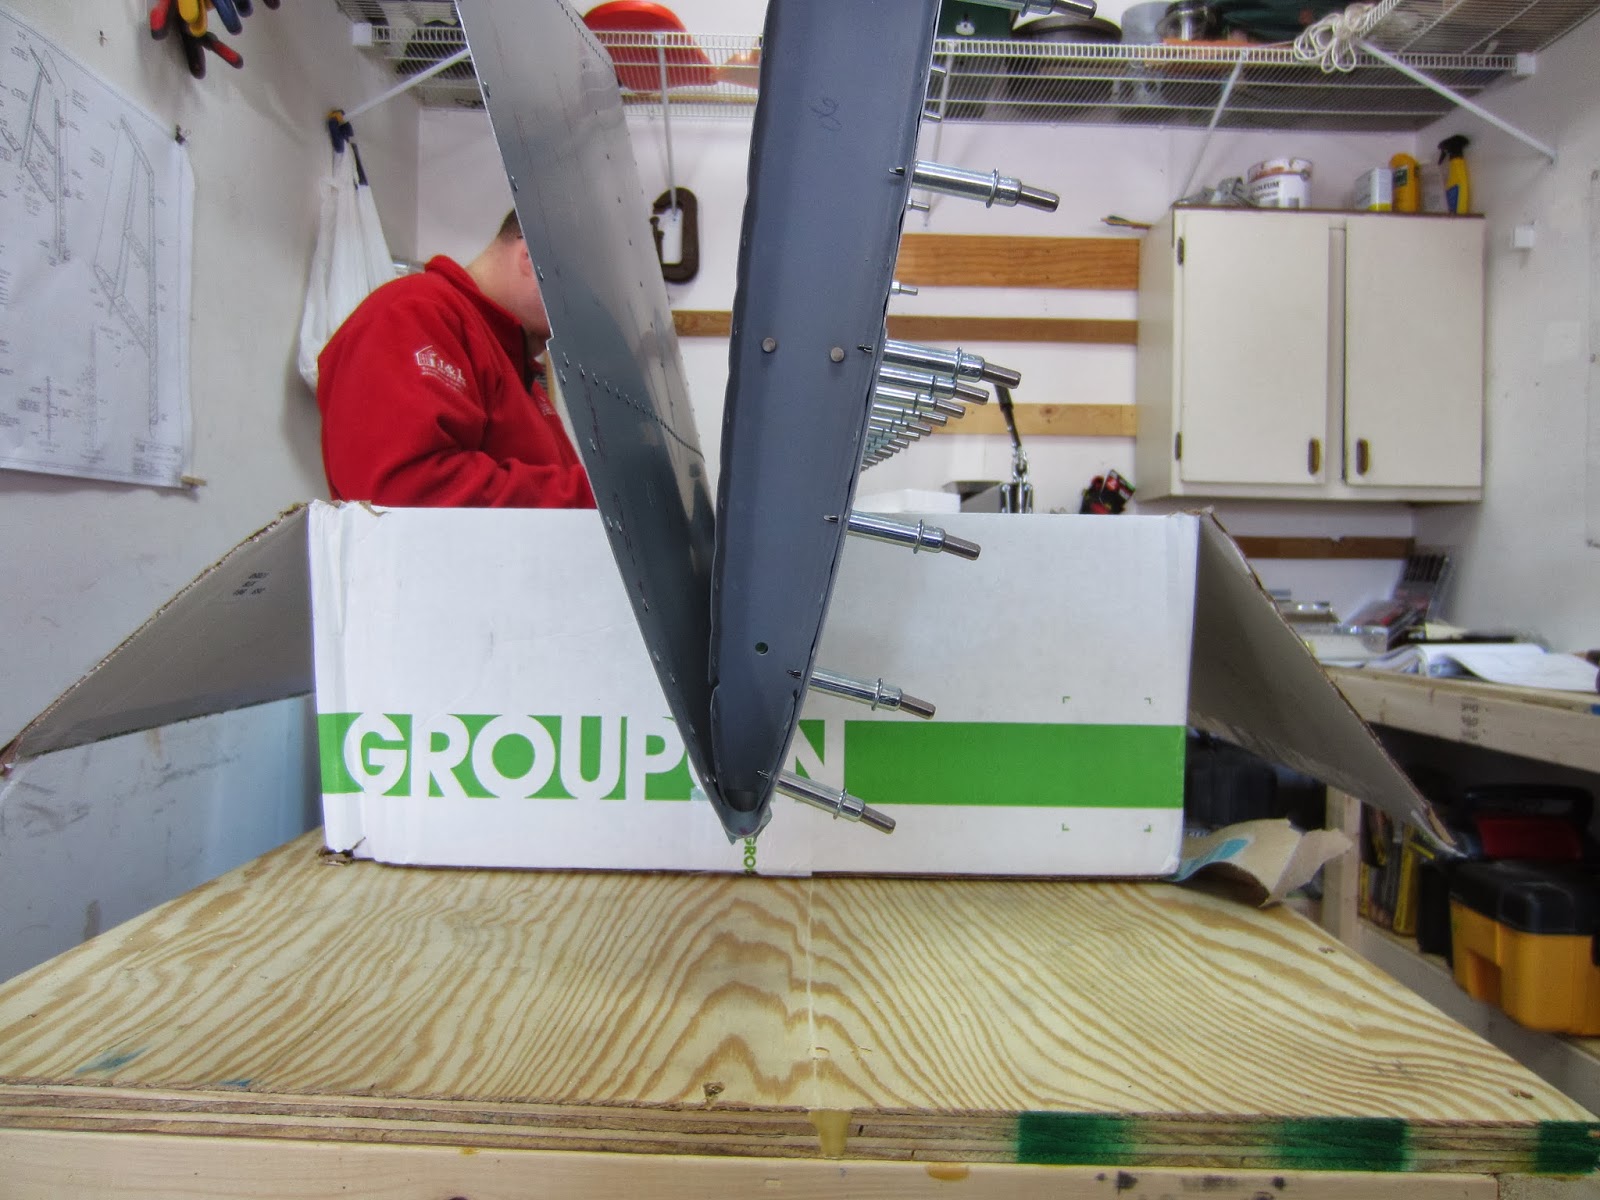
 To save our backs (a little), Steve & I cut a makeshift jig to hold the VS while we riveted her together.
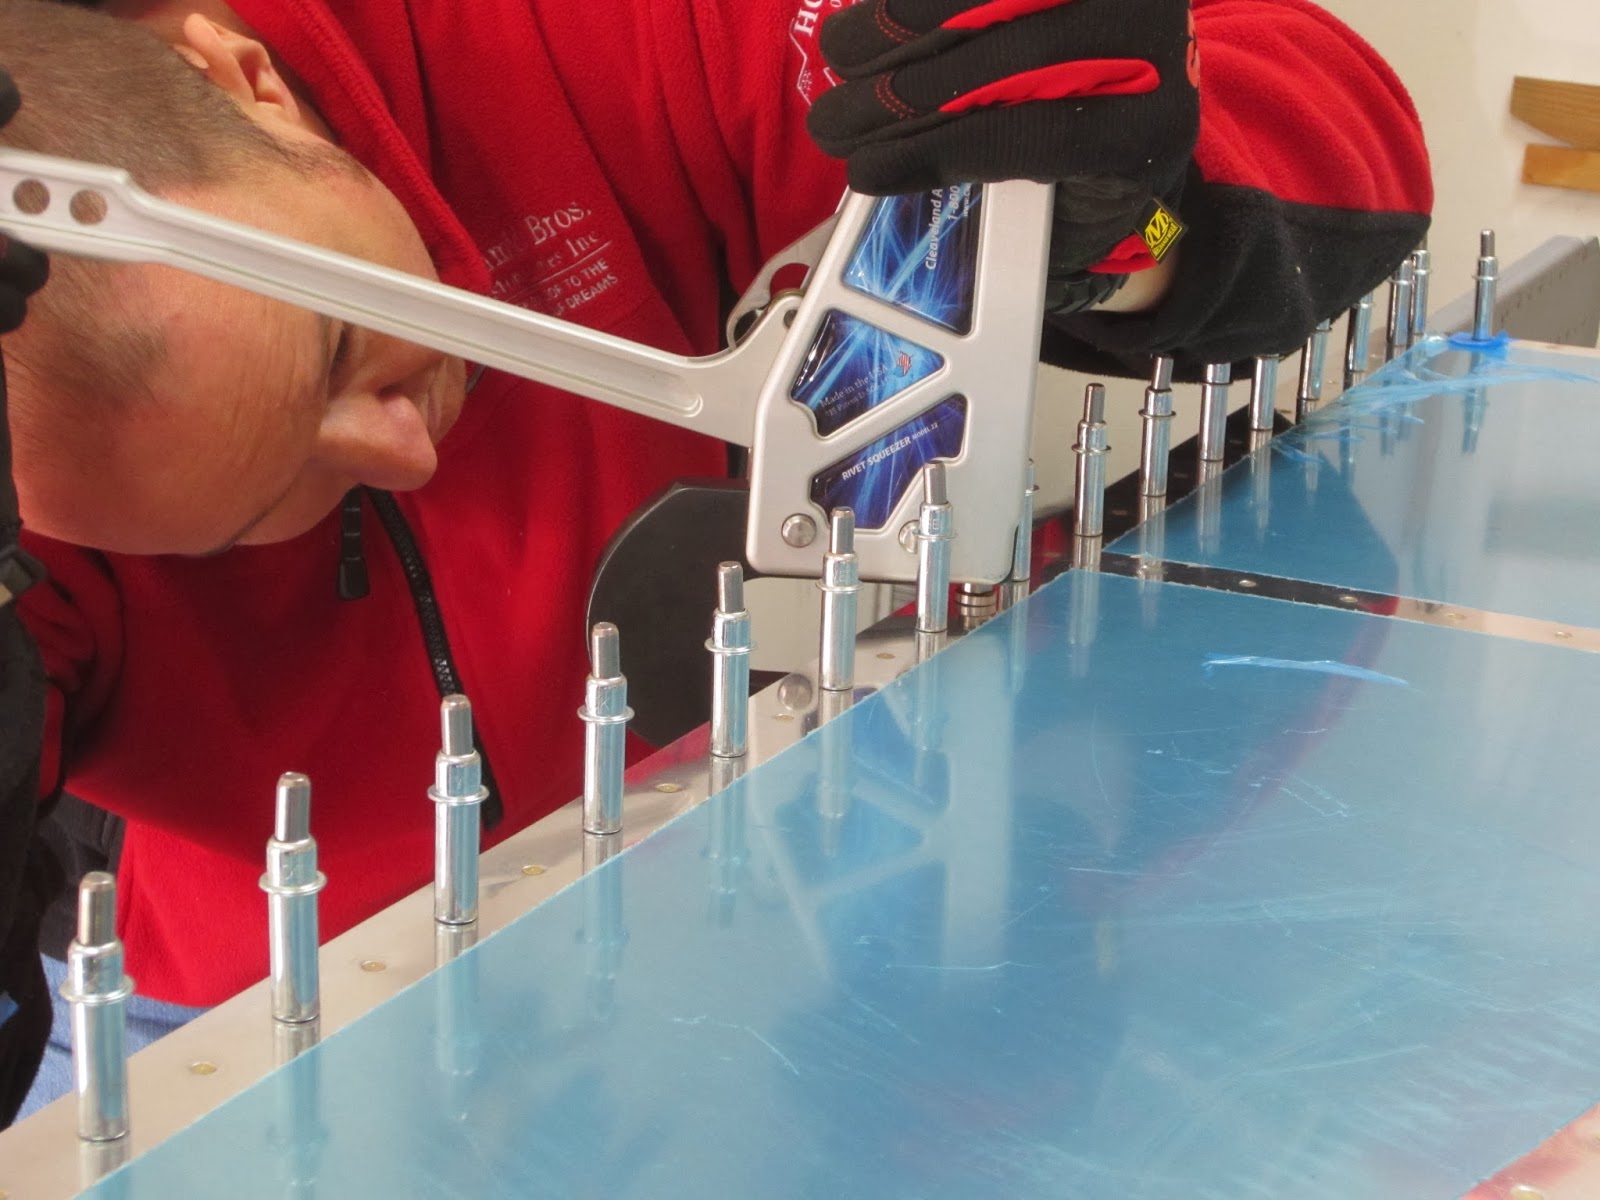
 Michelle, Steve & I each got a shot at squeezing some rivets. Much more consistent than the rivet gun, and more helper-friendly.
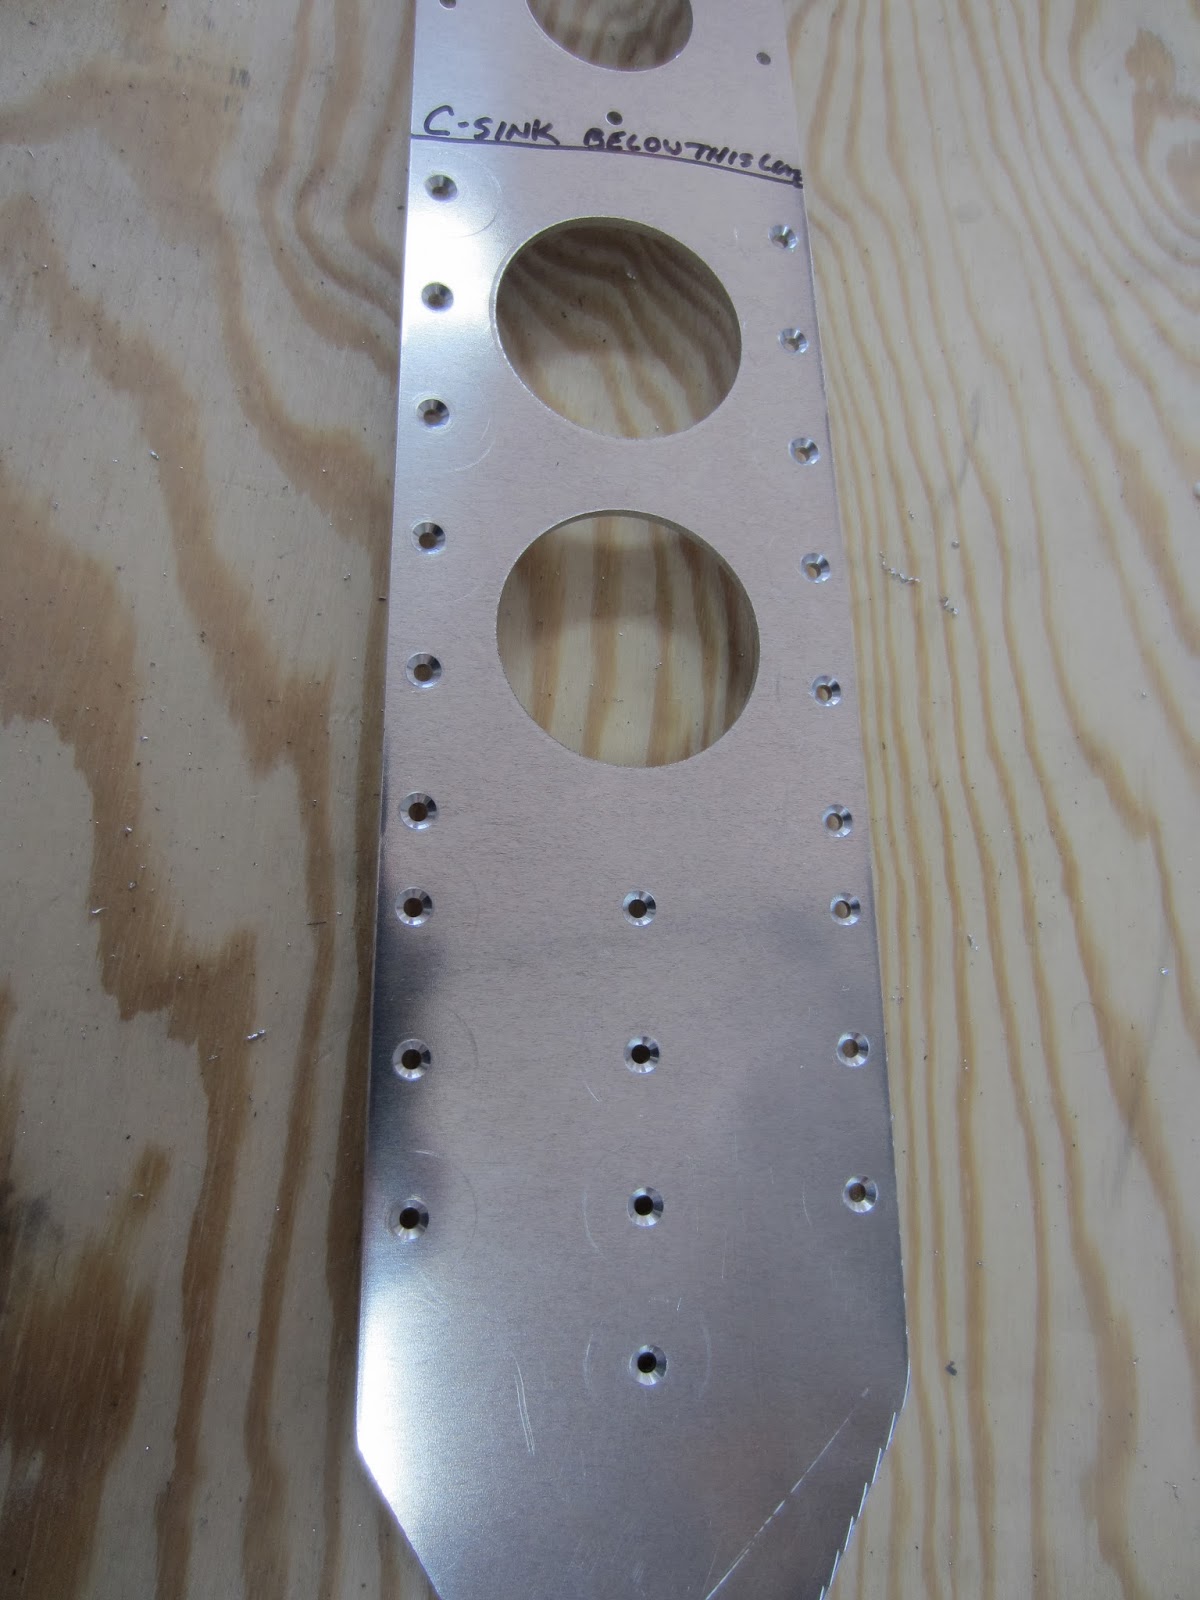
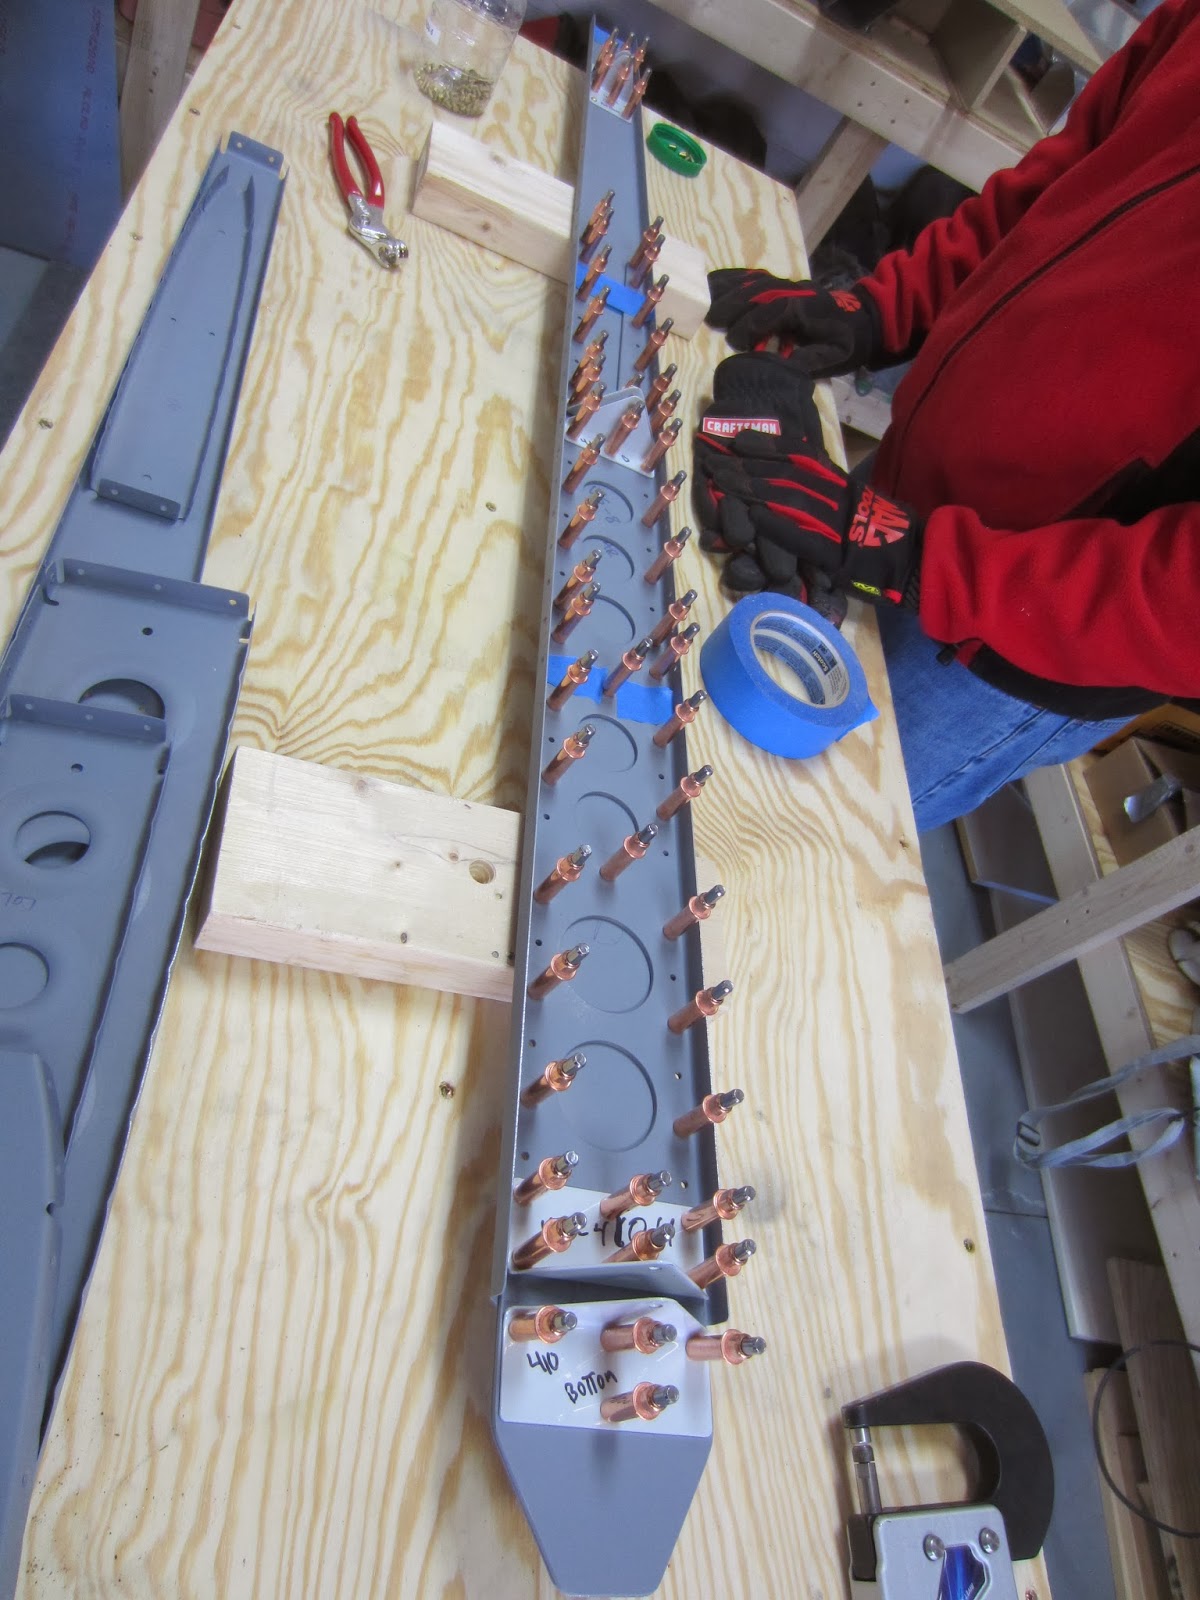
 They even caught me on camera. (And note the tape on the bottome of the VS - we learned from my mistake installing the wrong rivets on the rear spar and covered all holes that were NOT to be filled yet)
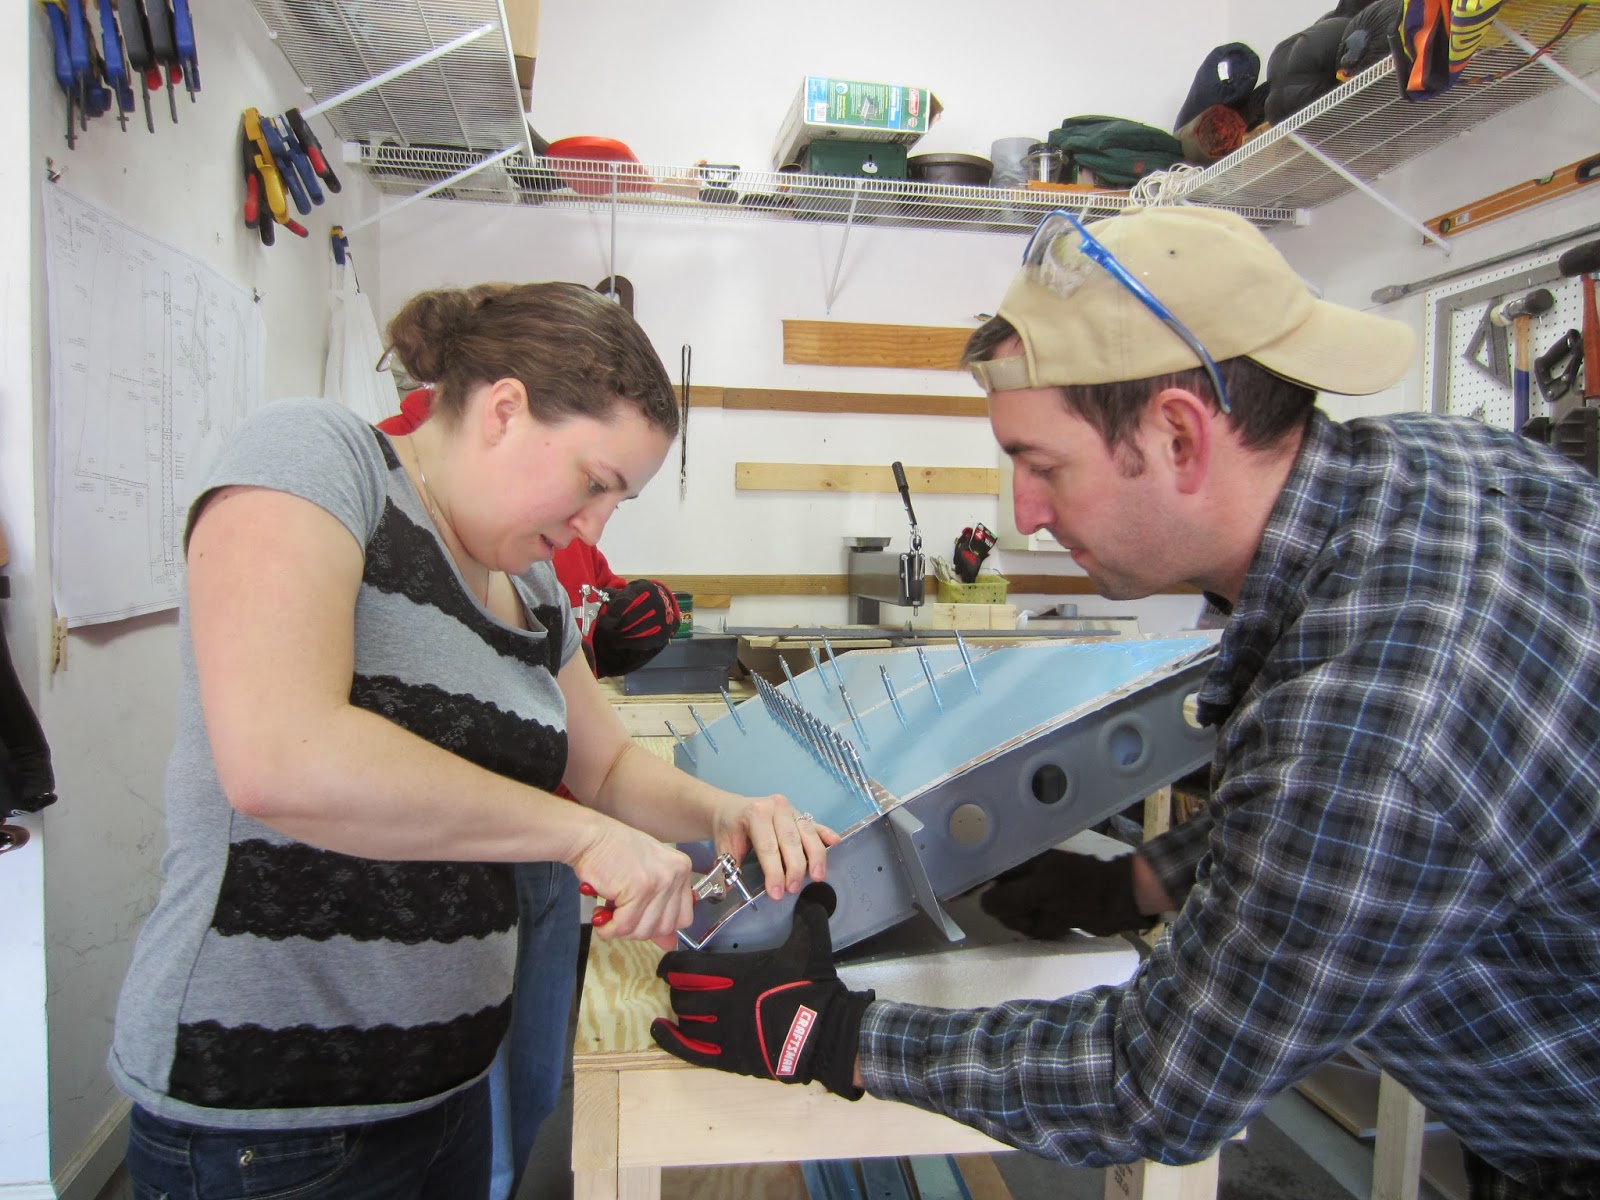
Securing the rear-spar... Steve did great, but I had some trouble getting sufficient clearance with the 3" yoke on the squeezer and had to drill a few more out, replacing with the mushroom head set and bucking bar. RTB...
And the last 3 rivets! Steve & I each pulled, finishing off our first complete assembly.
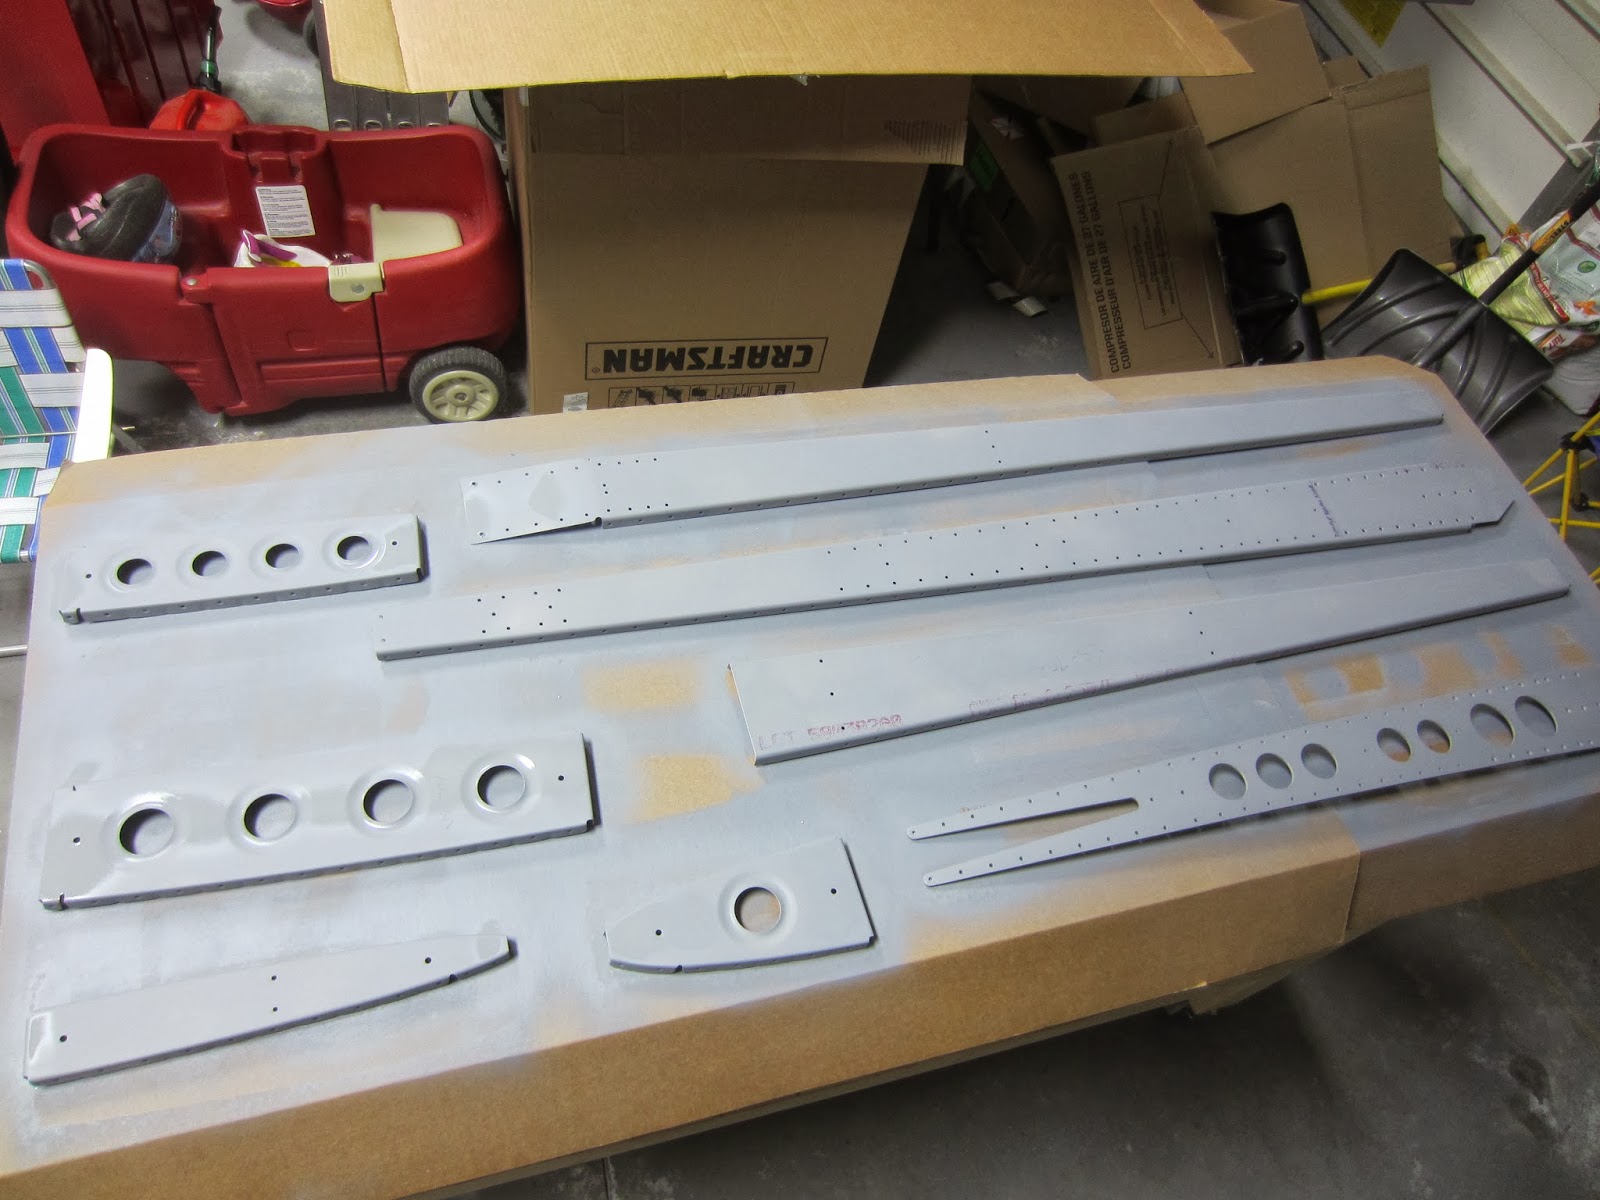
Only a few thousand more rivets to go! 
 Mk 1.0 flying workbench:
Thanks to the Taylors for all your help, and to my wonderful family for their trust & excitement.

 
Empennage: 5.5hrs

Vertical Stabilizer, Horizontal Stab Front Spar

Our good friends from Virginia stopped by to celebrate Erin's birthday, and Steve offered to help make some metal instead of sawdust for a change.
 We'd received the replacement HS-702, so amid a bunch of head-scratching got it trimmed, drilled, bent, deburred & dimpled. Unfortunately we won't be riveting the HS together until the new Service Bulletin doubler planes arrive from Vans with our wing kit.
Steve was a quick study - and was punished for it by getting to deburr 3 spars & the HS skin.
I still can't quite shake the jitters of countersinking , but knocked out the spar doubler with no problems.
While I was countersinking & edge deburring, Steve finished deburring and moved on to dimple the spars & skin.
VS parts + HS replacement spar ready to prime (above), primed (below)!
 HS-702 rework:

VS C-sink, deburr, dimple

 
Empennage: 6hrs

Saturday, February 8, 2014

Riveted Horizontal Stabilizer Rear Spar, Match-Drilled Vertical Stabilizer

Had a little touch-up priming to do this morning, and before long we were ready to squeeze rivets and make these parts look like something!
 First rivets in the spar! Squeezer works great, very consistent shop head formation. Not perfect, but not bad for a rookie.
 Riveting went fast with my expert rivet-placement crew.

 Voila! All rivets in. Only a few...tens of...thousands to go.

 The hinge brackets went on fine, the center bracket is installed but bolts not torqued - need to buy/borrow a torque wrench to complete that step.
 I ran into a roadblock; next step would have me riveting HS-710/714 to HS-702, the forward spars...one of which is the part I screwed up. Per Vans/UPS, replacement should be here Tuesday and I can wrap up the HS then.
I moved on to match-drilling all VS ribs, then clecoing on & match-drilling the skin.

It was a great day in the shop; these big pieces sure look impressive when they come together.


Empennage: 6 hrs

Wednesday, February 5, 2014

HS Primed, VS Started

Warm weather (45 counts around here)  again, so we finished deburring, scuffing & cleaning HS parts.
My pit crew decided I needed more "bling" in the shop; a few stickers, and we were back in business.
 I also took Van's advice as published in the revision to their edge finishing manual and shaped the edges of the flanges to hopefully prevent faceting of the skins.
I also caught another potential mistake - forgot to drill the control cable hole in the left forward spar, but caught it & used a series of Unibits to drill to size.
Then it was on to priming!
Photobomb!

Probably overly cautious, but yes, Erin & I swabbed the match-drilled holes in the hinge brackets with primer.
Finally: scuffed & primed the skins. As soon as the spar comes in & we can get it prepped, we'll be driving rivets.
We don't have pics of it, but while the primer was drying I started laying out the Vertical Stabilizer. 3 of 4 ribs are edge-finished & fluted. We're starting to gain momentum - it's great!


Empennage: 3 hrs

Saturday, February 1, 2014

Deburr, Dimple, First Big Mistake

We took advantage of some good weather to do some finish work on the horizontal stabilizer.
After deciding to prime the interior of all parts, I'm much less concerned about scratching pieces like spars, etc. Obviously I still want to prevent deep scratches that may affect the structure, but the cosmetic stuff will be buffed in anyhow in prep for primer.
I decided, however, to keep as much of the blue nylon on the outsides of the skins as possible...being a rookie, I figured I'm liable to make a real mess that will only make my life harder when it comes time to paint.

My lovely assistant came out to help; she's decided the Avery speed deburr/c'sink tool is her favorite - and more effective than the 12V drill operated deburr tool we bought from Cleaveland for rib hole deburring. The Cleaveland tool still wins for skins by virtue of speed.
After deburring, we each took a turn at dimpling the understructure & skins.

And then I found my first mistake. Somehow I elongated a hole between the right HS skin and the forward spar.
I attempted to drill it out to 1/8" to salvage the part with a larger rivet, but there was still too much space around the rivet when I test-fit it.
I chalked it up to education, and ordered the replacement spar from Van's ($19.50). Now my concern is being able to match-drill the spar without elongating any holes in the skin or other ribs, compounding the problem. One thing at a time, I suppose.
I also set up the drill press for my first countersinking, which went well. I went deeper than I otherwise might have after learning at the EAA workshop that shallow sinks lead to bubbled joints. Sure, we'll call that a technical term.
2 dimpled skins! See below for muppet construction.


Empennage: 3 hrs