Friday, November 8, 2013

Rear Spar 1st Assembly, First Rivets, First Priming, Front Spar Work

This morning was broken up by running yard waste to the county site and casting about for local primer options. The NAPA 7220 was the only option readily available for self-etching primer, so I promptly bought the last can, and after match-drilling and deburring HS-411 and VA-146, put it to work priming the contact surfaces of VA-146.


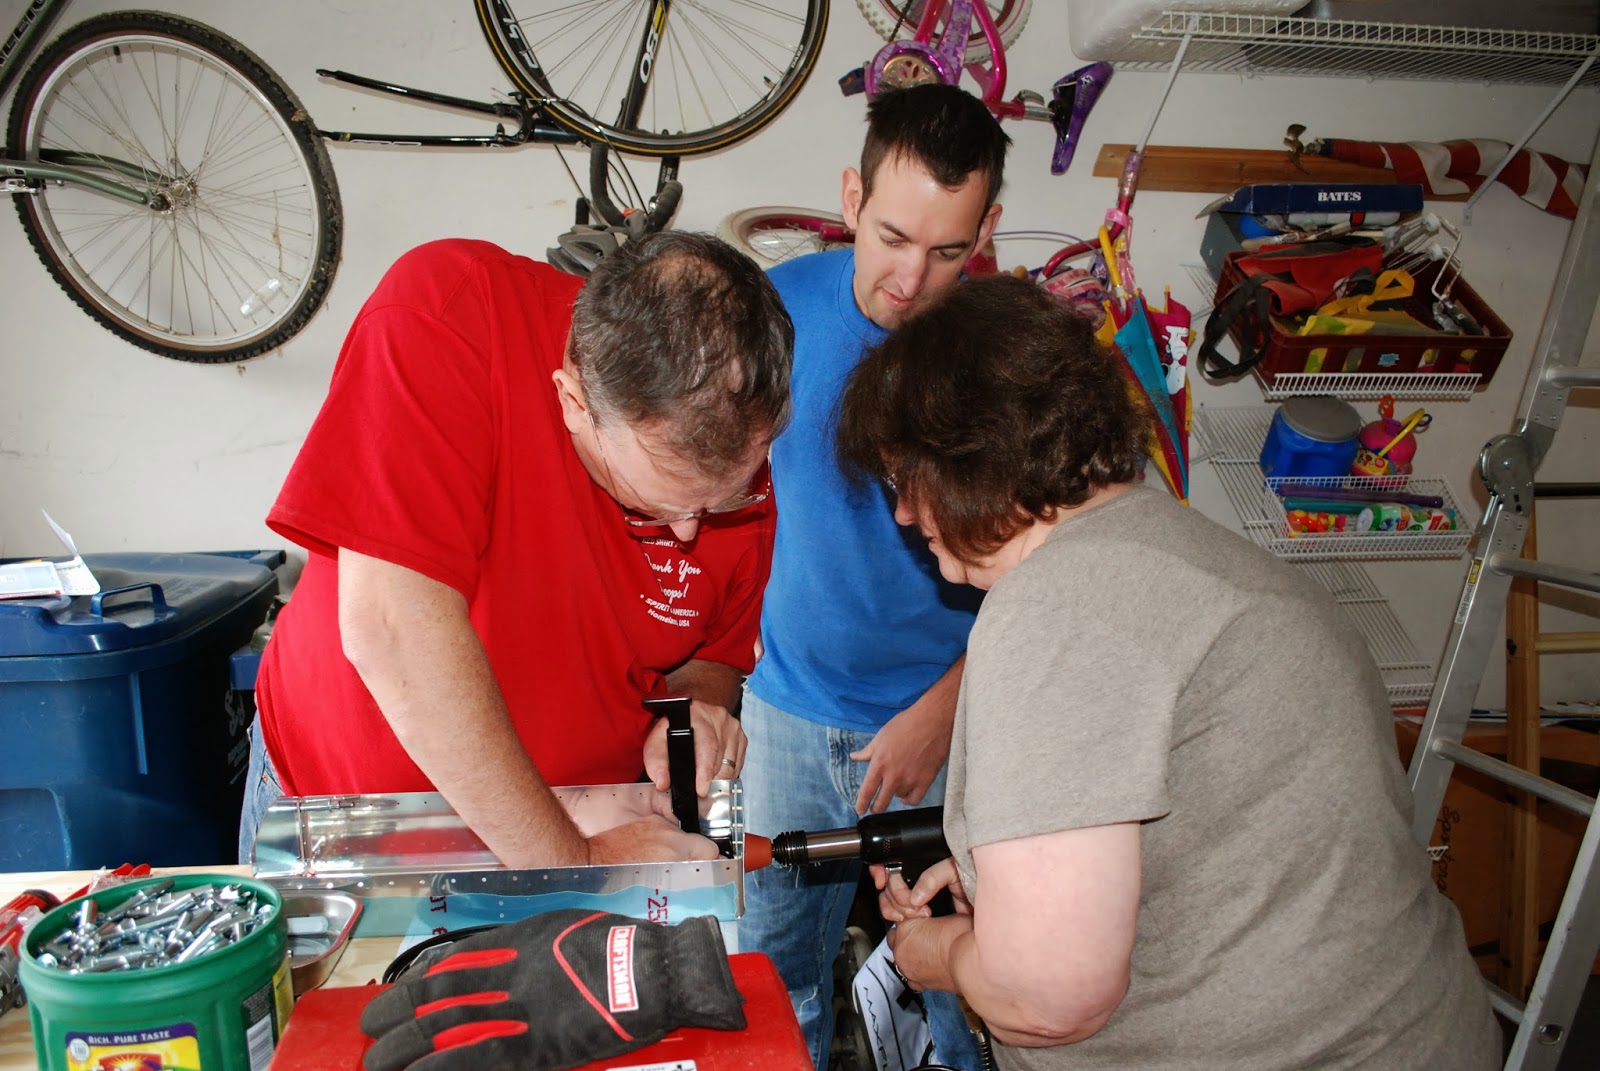
After allowing it to dry (had to take it inside since temps outside were in the 40s), we proceeded with clecoing the assembly together and squeezing our first rivets!
 
It was a good feeling to see pieces fixed in their final position. It brings to mind the old saw, "How do you eat an elephant?" We'd taken our first bite.
Natalie helped ensure our alignment was correct.
The rear spar was re-clecoed, and the HS-411 assembly drilled out to #12. We set it aside to begin work on the front spar.
We shaped the ends of HS-711 and HS-714 and bent them to 6 degrees (see on foreground bench, left corner).
My father & I trimmed flanges, drilled relief holes and bent HS-702 to 6 degrees, followed by dimpling the inboard 4 holes. I don't have my countersink set yet so will need to come back and countersink HS-711 and HS-714.
Next was deburring & fluting ribs, and trimming HS-404 to fit around HS-711 and HS-714. Here I encountered my first mistake: I trimmed too far, leaving up to 3/32" where 1/32" was called for.
 We moved on to marking, drilling & deburring HS-405 ribs on the forward flange.


Here I discovered my second mistake - I drilled the second hole from the bottom on one rib 1/4" too low.
 
Fortunately, after calling Van's support, all three mistakes were within tolerance. While not aesthetically symmetrical, all are structurally sound and I've learned to trim even more incrementally and triple-check drilling locations.
 
That was it for this session. Thanks to my parents for all of their help, can't wait to have you back!
 
Empennage: 8hrs

Thursday, November 7, 2013

Rear Spar Stiffeners

Satisfied by our completion of the Van's toolbox that we were indeed equal to the task of building an airworthy airplane, we dove into the empennage kit assembly.
First challenge: finding the rear spar stiffeners. Some trickster at Van's had placed them under a layer of cardboard beneath the skins...and I'd forgotten they were there in the time since inventorying the box.
We proceeded to break the edges of the stiffeners with a vixen file, radius the ends & polish them on the scotch-brite wheel to a brushed finish.
 Trying to save some $ I had ordered a Scotch-Brite wheel on Amazon...that turned out to be 6x1/4x1/2. Oops.
 We clecoed the spar stiffeners to the rear spar, match-drilled and deburred the assembly.
I'll be ordering a 6x1x1/2 Scotch-Brite wheel from one of the usual suspects, as no local auto or hardware store carries them. Lesson learned!

Empennage: 5hrs

Saturday, November 2, 2013

Toolbox

Due to the fact that I was unable to attend a couple of Sport Air workshops as I'd planned in order to mangle aluminum & rivets that won't be part of an airplane, I ordered the Van's toolbox kit.
 
 My parents were in town for the week, and my sister for the weekend, so everyone got to experiment with the DRDT2 and rivet gun. 


 Natalie demonstrated blind riveting.
 Since I've never done any sheet metal work, having a project to learn from shortened the learning curve.
Some things I learned: familiarity with new tools, how to remove vinyl coating without scratching the alclad surface, how to identify a bad rivet, how to drill out a bad rivet, how to feather the rivet gun trigger to prevent it dancing across the surface with a flat set, and how to  better organize the shop.

At $28, this is some of the best money I've spent so far.

Toolbox: 7hrs